Guida MOQ per Batterie di Scooter Elettrico per Importatori B2B
Scopri specifiche MOQ delle batterie della scooter elettrico, certificazioni di sicurezza e spedizioni per scalare importazioni conformi e redditizie
Scopri specifiche MOQ delle batterie della scooter elettrico, certificazioni di sicurezza e spedizioni per scalare importazioni conformi e redditizie

Scopri come valutare fornitori di batterie per scooter elettrici in Cina con una checklist di sicurezza, qualità e conformità in 7 passi
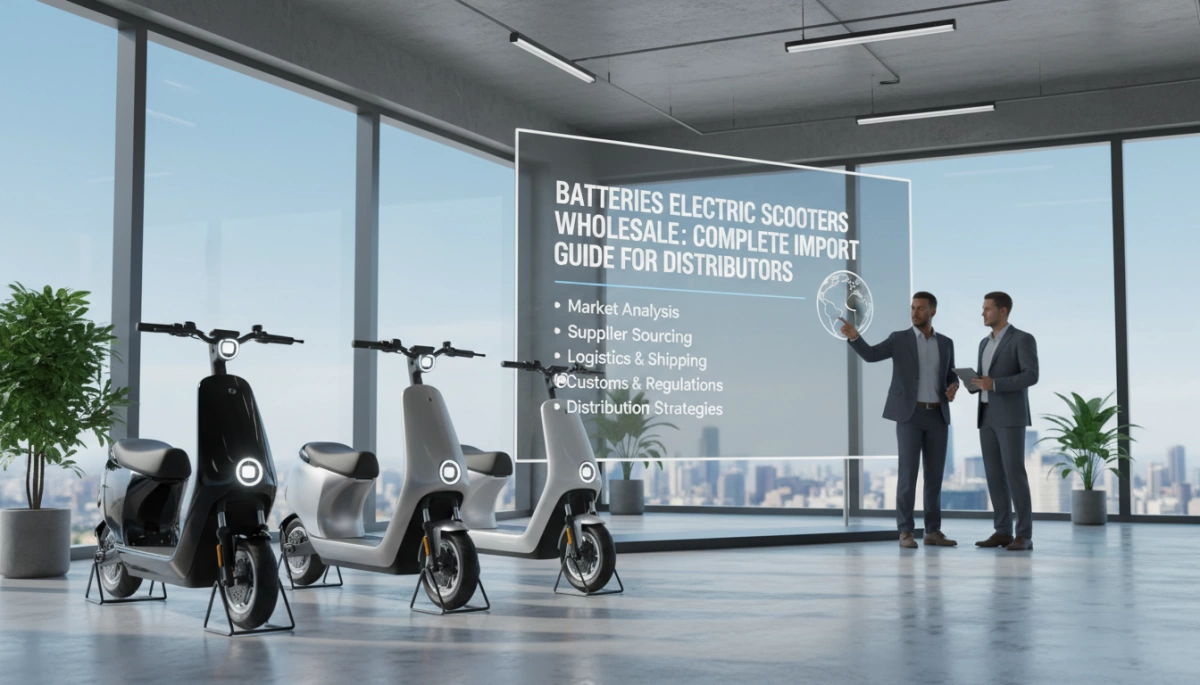
Guida all'importazione all'ingrosso di batterie per scooter elettrici per distributori - pacchi certificati UN383, sicurezza BMS, spedizioni DG Classe 9 e calcolo dei costi al terzo passaggio
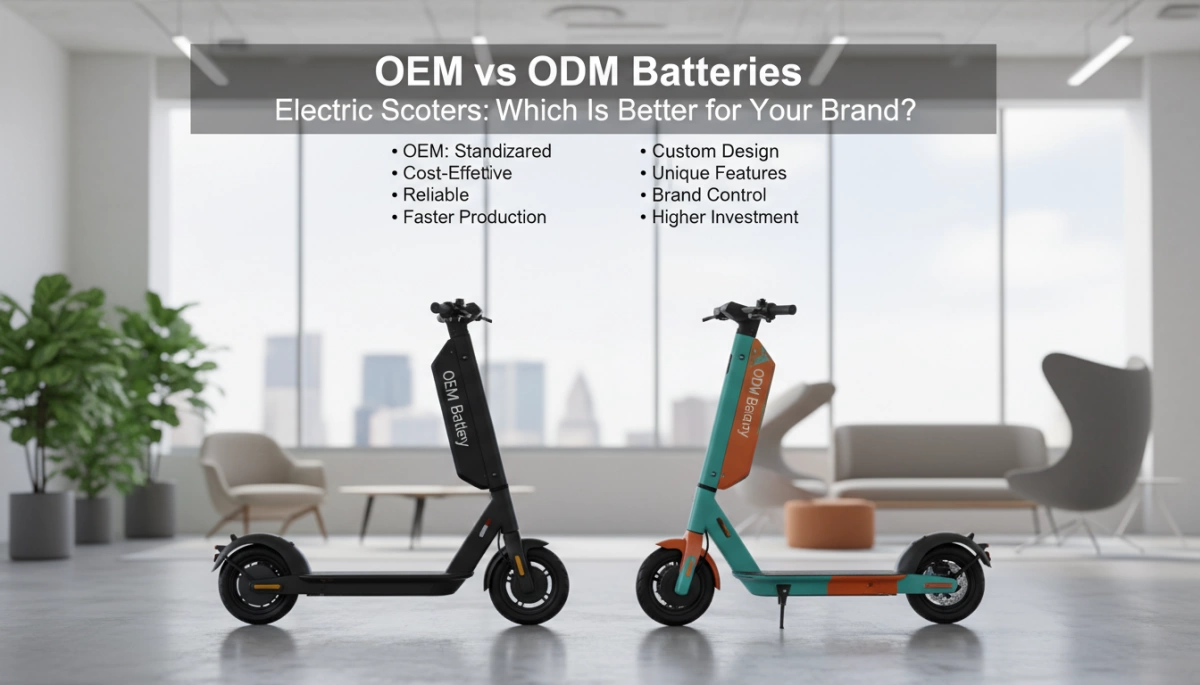
Batterie OEM vs ODM per scooter elettrici confrontate per aiutare a scegliere la soluzione migliore scalabile o personalizzata per il vostro marchio

Scopri 10 fattori chiave per l'acquisto all'ingrosso di batterie per scooter elettrici, che coprono sicurezza, prestazioni, conformità e la scelta di fornitori OEM affidabili

Impara la conversione da volt a watt per velocità, coppia, gamma, sicurezza e aggiornamenti di batterie al litio
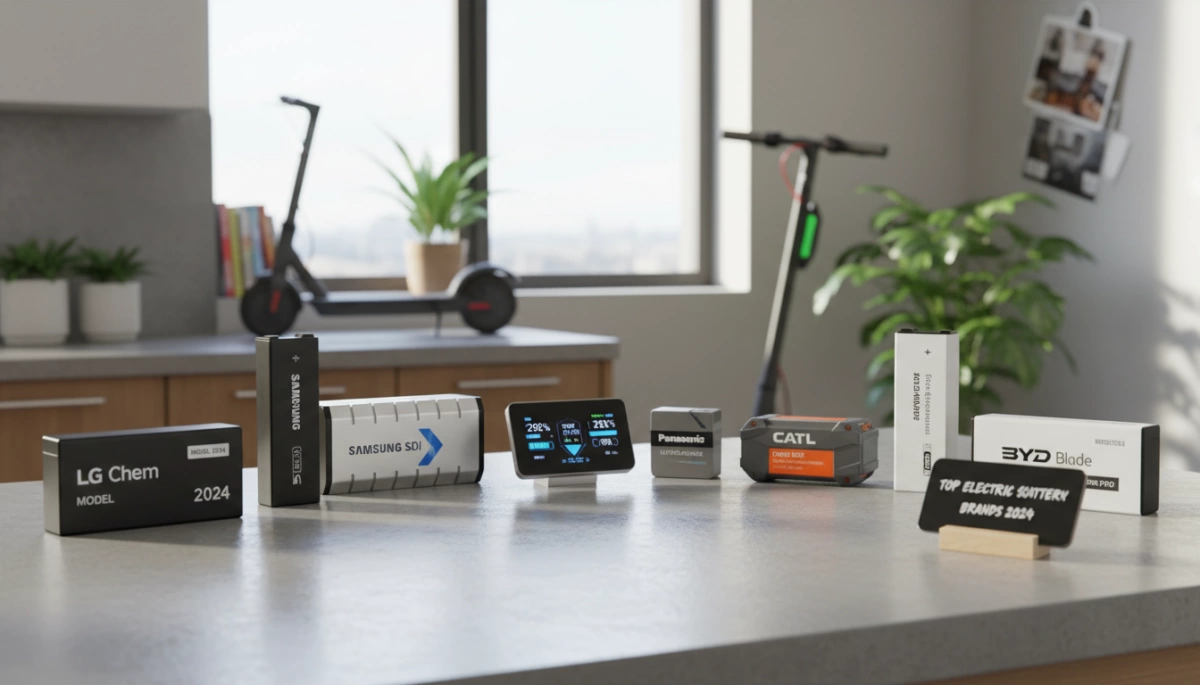
Scopri i 10 migliori produttori di batterie per scooter elettrici per pacchi Li-ion e LiFePO4 sicuri e a lungo raggio per flotte OEM e piloti

Discover which battery is best for electric scooter use comparing lithium ion vs LiFePO4 vs lead acid for range safety and lifespan
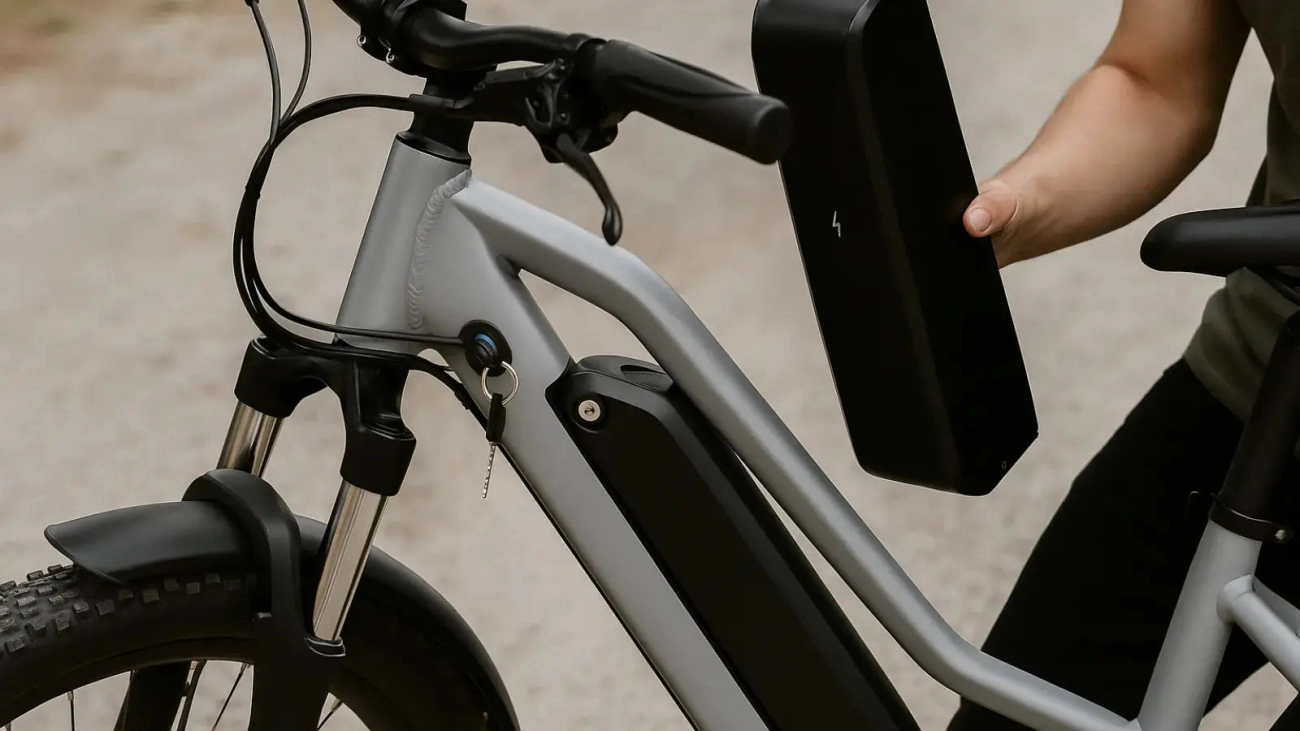
Posso mettere una batteria da 52V su una e-bike da 48V Scopri rischi, benefici, limiti del controller e soluzioni di batteria personalizzate sicure dall’OEM
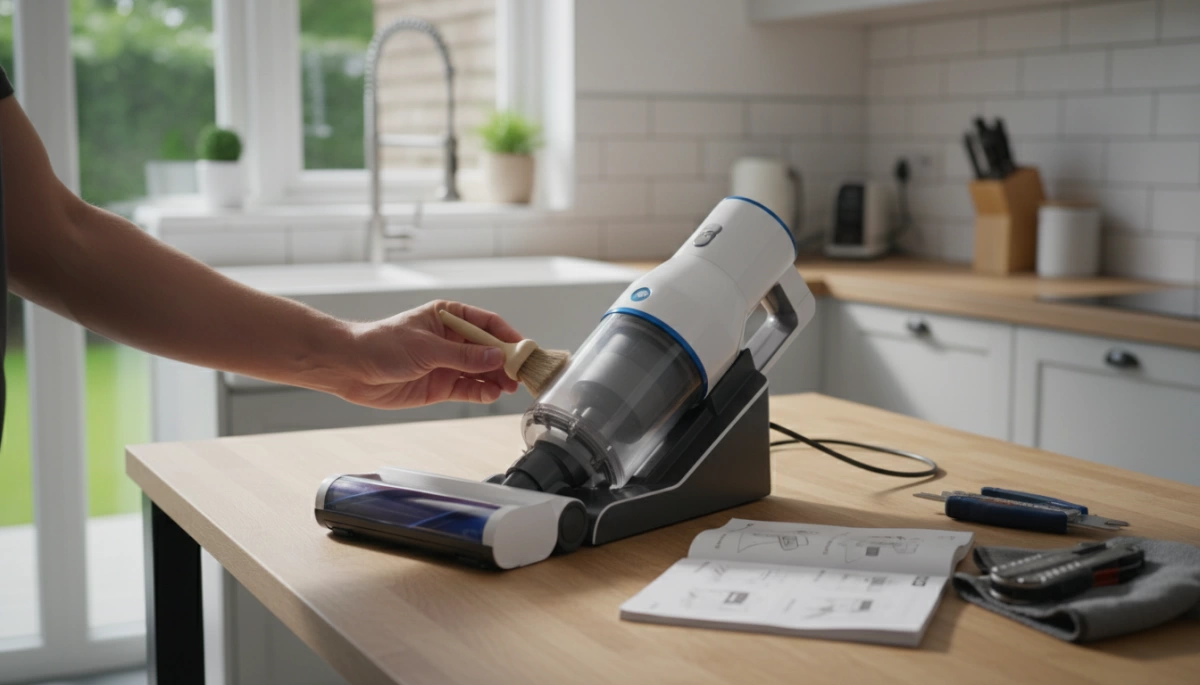
Scopri come risolvere il problema di un aspirapolvere senza fili che non si ricarica con i consigli di Van4NU su controlli della batteria, problemi del caricatore e pulizia dei contatti


