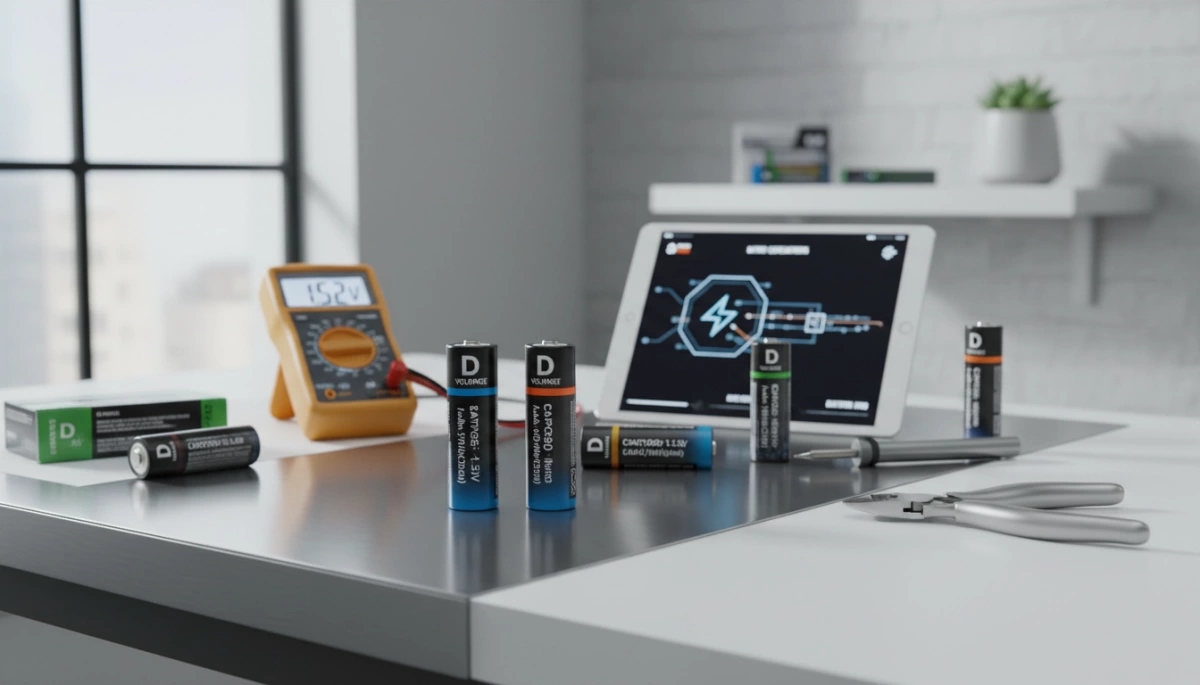
D Pil Rehberi: Nedir ve Standart Voltajı Açıklanmıştır
D pilin ne olduğunu, 1.5V voltajını, türlerini, kapasitesini ve en iyi kullanımlarını net karşılaştırmalar ve pratik rehberlikle öğrenin.
D pilin ne olduğunu, 1.5V voltajını, türlerini, kapasitesini ve en iyi kullanımlarını net karşılaştırmalar ve pratik rehberlikle öğrenin.
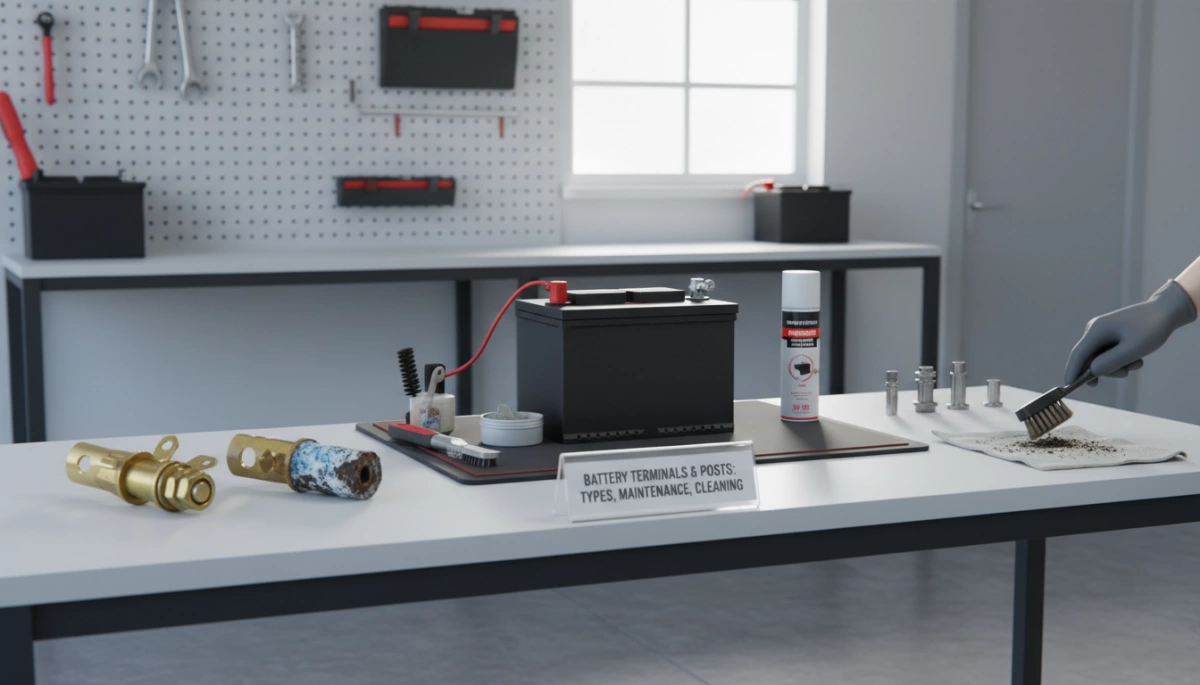
Pil terminalleri ve uç tipleri, bakım ve temizlik ipuçlarıyla korozyonu önleyin ve güvenilir güç performansını artırın.
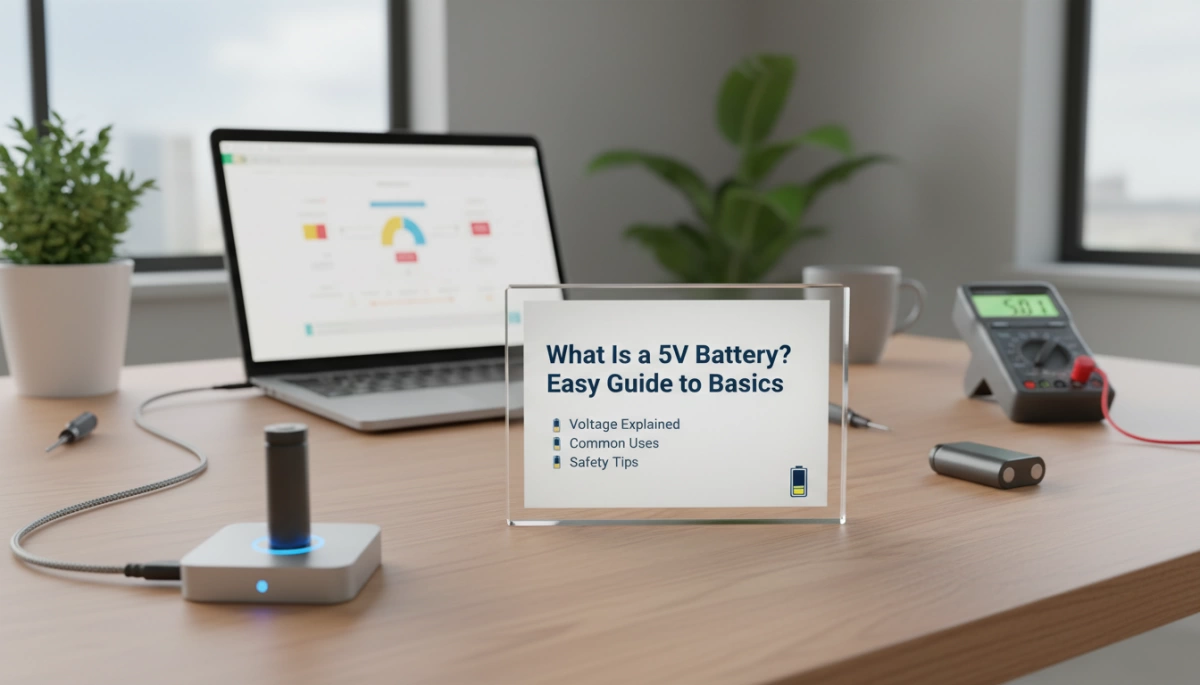
5V pilin ne olduğunu, 3.7V hücrelerin nasıl 5V’a yükseldiğini, türlerini, kullanımlarını ve DIY Arduino ve USB projeleri için güvenlik ipuçlarını öğrenin.

Watt Saatleri Amp Saatlerine Pil Boyutlandırma Rehberi

Bir profesyonel lityum pil üreticisinden Group 24 pillerin özellikleri, türleri ve lityum yükseltmeleri hakkında her şeyi öğrenin

3V piller rehberi, madeni hücreler ve silindirik hücreleri karşılaştırarak kapasite, kullanım, performans, güvenlik ve doğru lityum pil seçimi hakkında bilgi verir

Güvenli kablolama ipuçlarıyla paralel ve seri LiFePO4 pil şarjına ilişkin tam rehber, BMS kurulumu ve nuranu sistem en iyi uygulamaları

Bir derin döngü pilinin ne kadar ağır olduğunu keşfedin, kurşun-asit ile lityumu karşılaştırın ve Nuranu LiFePO4 hafif seçenekleri görün

Güneş, karavan, denizcilik ve şebeke dışı enerji sistemleri için Lityum Demir Fosfat (LFP) bataryalarının artılarını ve eksilerini öğrenin

Jel ve Lityum Akü Karşılaşması Döngü ömrü, maliyet, ağırlık ve verimlilik karşılaştırması yaparak LiFePO4'ün güneş enerjisi, karavan ve yedek güç için neden kazandığını gösteriyor
