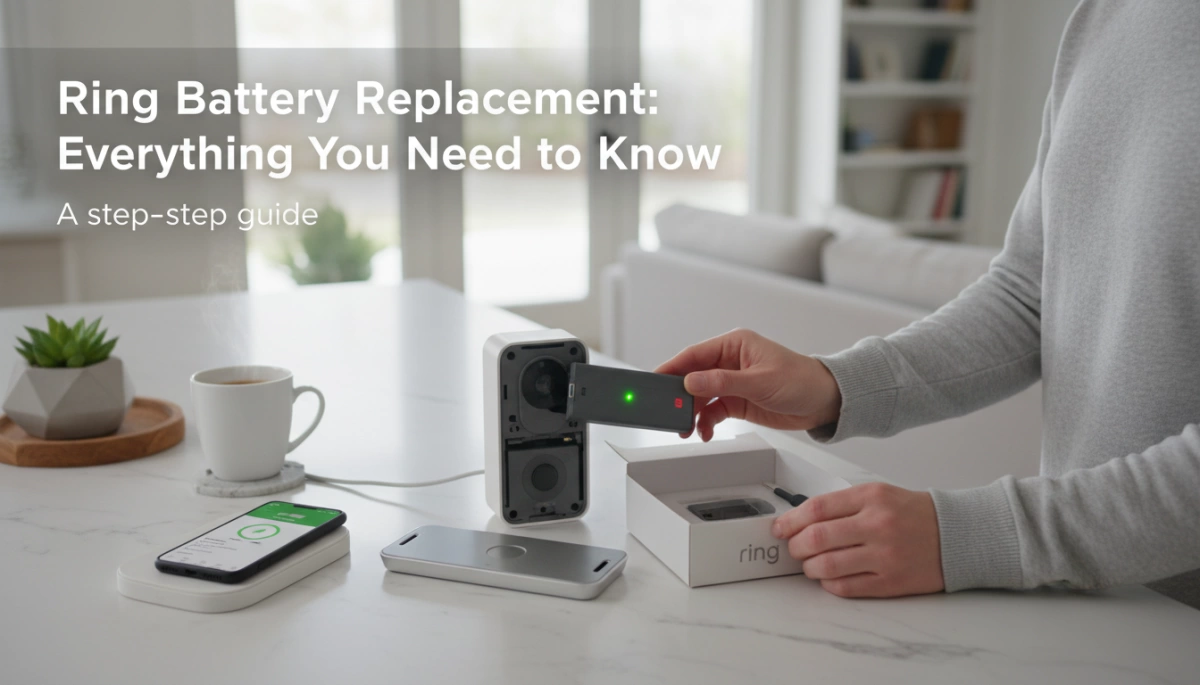
Ring Pil Değişim Kılavuzu ile nuranu Yüksek Kapasiteli Yedek Pil ile
Uzman ipuçlarıyla Ring pilinizi nasıl değiştireceğinizi ve şarj edeceğinizi öğrenin ve sıfır kesinti güvenlik için nuranu yüksek kapasiteli piller keşfedin.
Uzman ipuçlarıyla Ring pilinizi nasıl değiştireceğinizi ve şarj edeceğinizi öğrenin ve sıfır kesinti güvenlik için nuranu yüksek kapasiteli piller keşfedin.
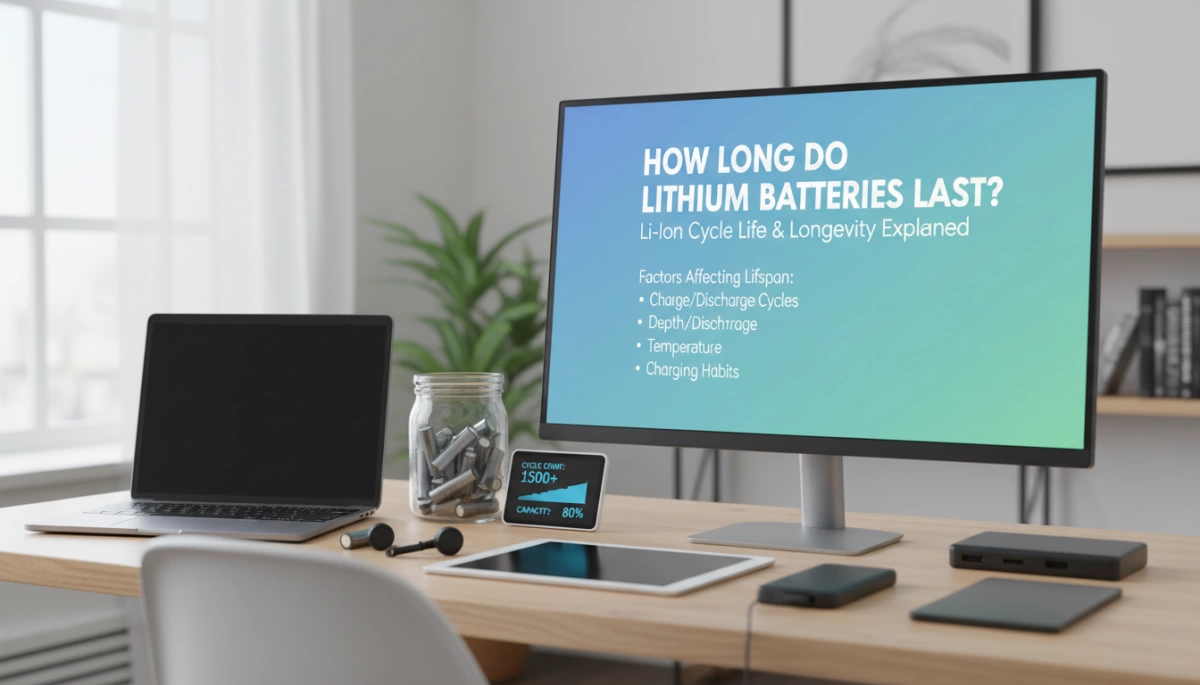
Nuranu LiFePO4 teknolojisi ile lityum akülerin ne kadar dayandığını keşfedin; karavan, güneş enerjisi ve denizcilik kullanımı için 4000'den fazla çevrim sunar.
Nuranu LiFePO4 teknolojisi ile daha uzun çalışma süresi, 100% deşarj derinliği ve 10 yıl ömür sağlayan 12V 5Ah pilin ne kadar dayanacağını keşfedin.
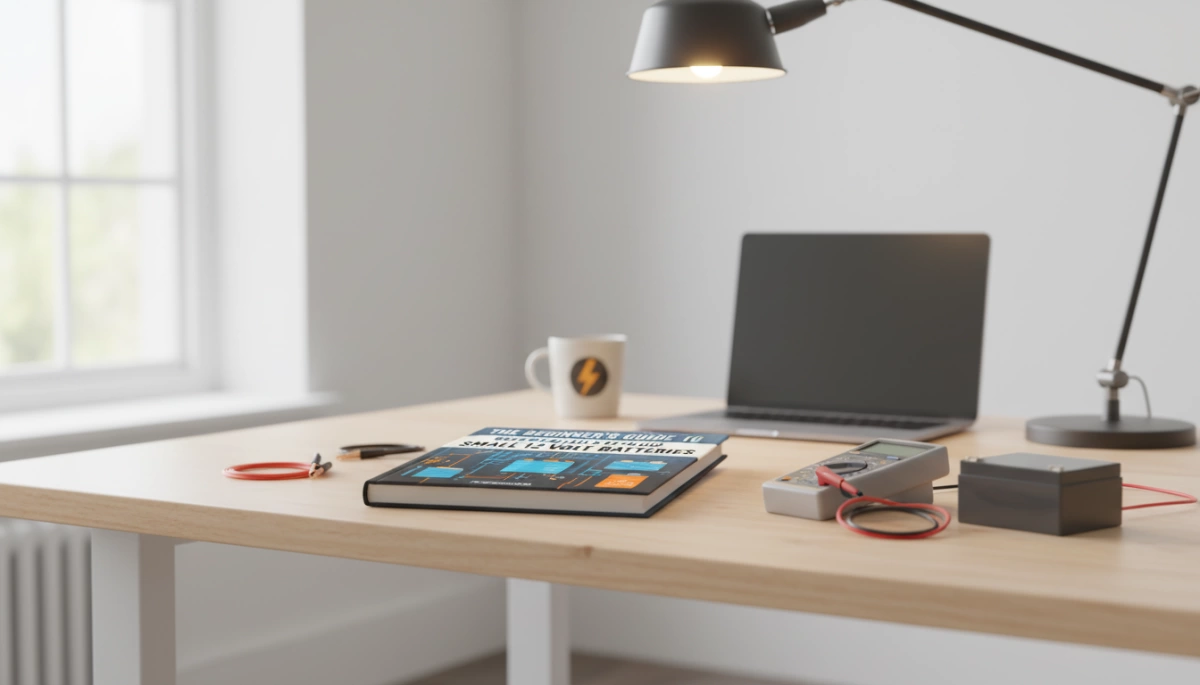
Küçük 12 volt piller için başlangıç kılavuzunu keşfedin, LiFePO4 ve kurşun asit kimyası kapasitesi ve pil yönetim sistemi hakkında uzman ipuçlarıyla.
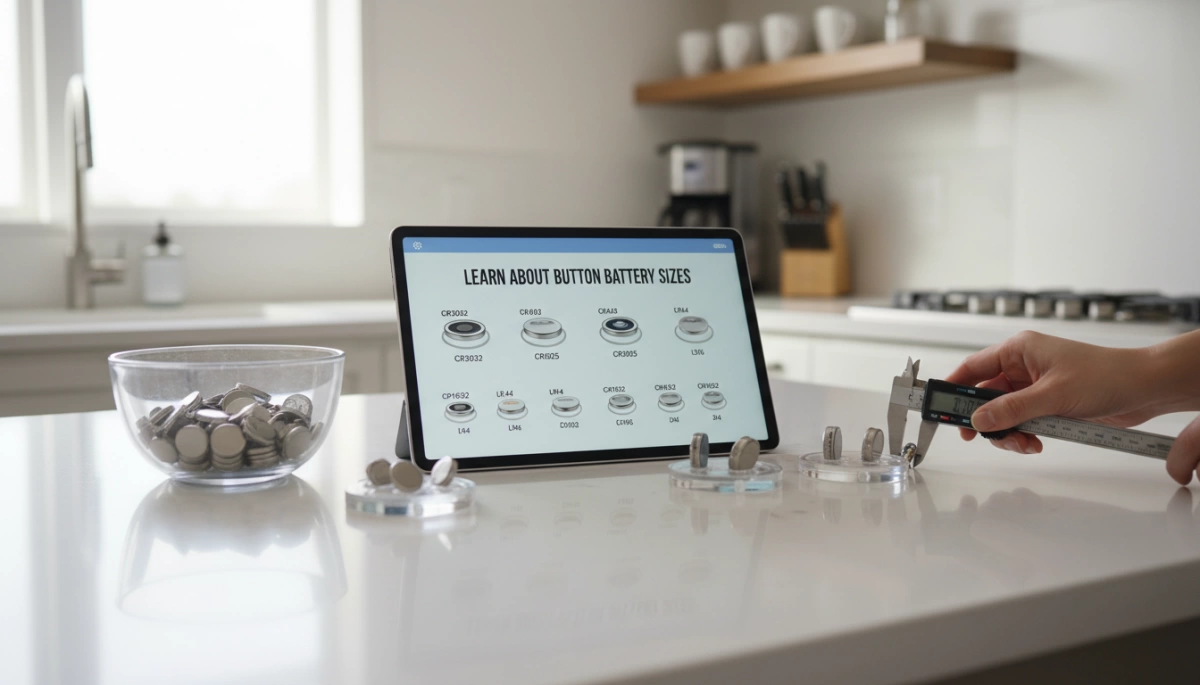
Cihazınız için doğru yedeklemeyi güvenle seçmek amacıyla boyutlar, voltaj ve uyumluluk dahil olmak üzere düğme pil boyutları hakkında bilgi edinin
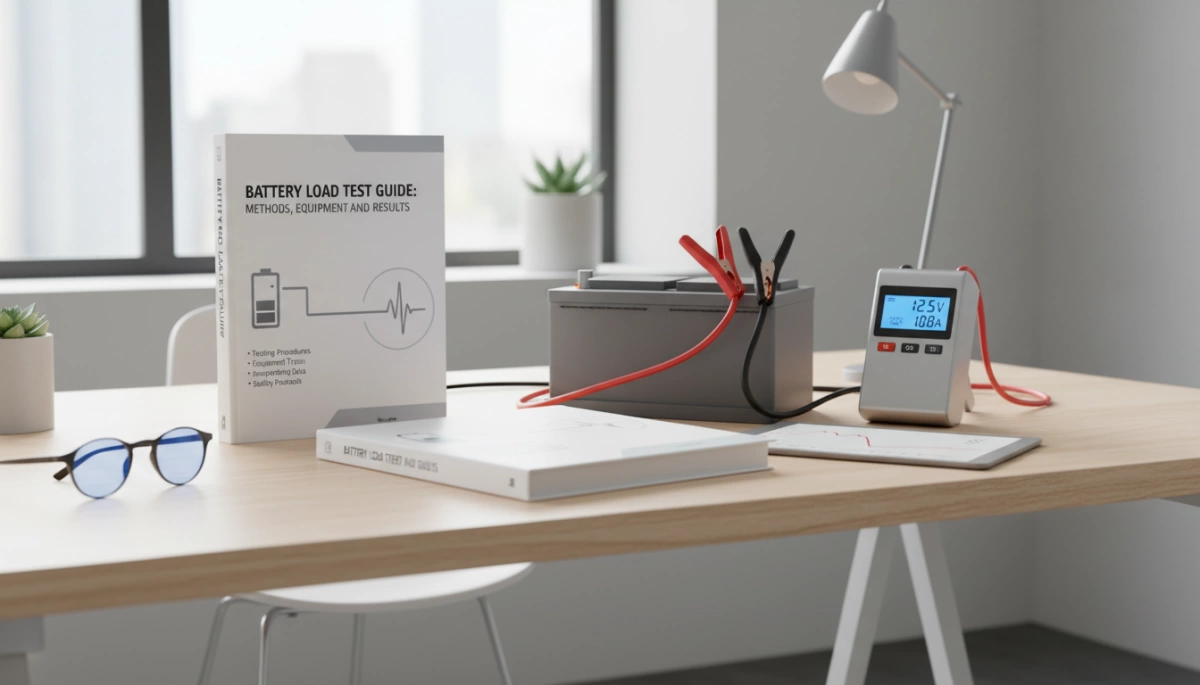
Doğru sağlık durumu analizi için DC elektronik yükler ve Kelvin bağlantıları dahil olmak üzere hassas akü yük test yöntemleri ve ekipmanlarını keşfedin.
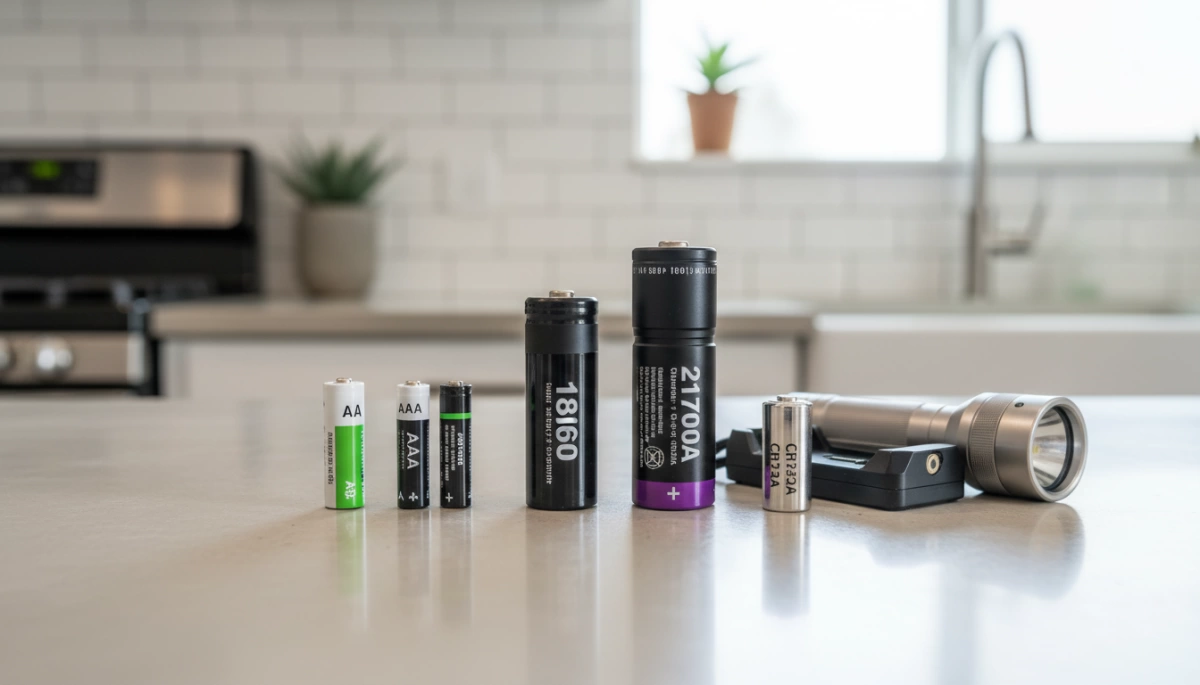
Maksimum çalışma süresi parlaklığı ve güvenliği için AA, AAA, 18650, 21700 ve CR123A dahil olmak üzere en iyi el feneri pillerini keşfedin.
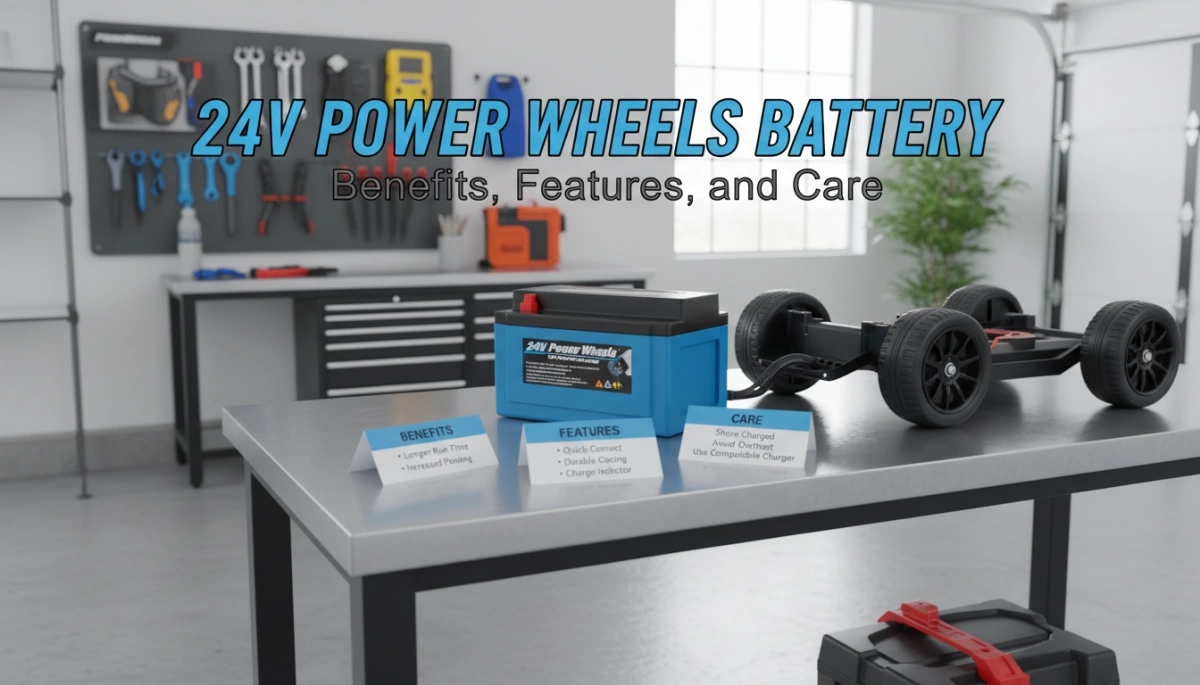
24V Güçli Araba Bataryası faydalarını, özelliklerini ve daha iyi hız, daha uzun çalışma süresi, daha güvenli performans ve dayanıklı sürüş eğlencesi için bakım ipuçlarını keşfedin
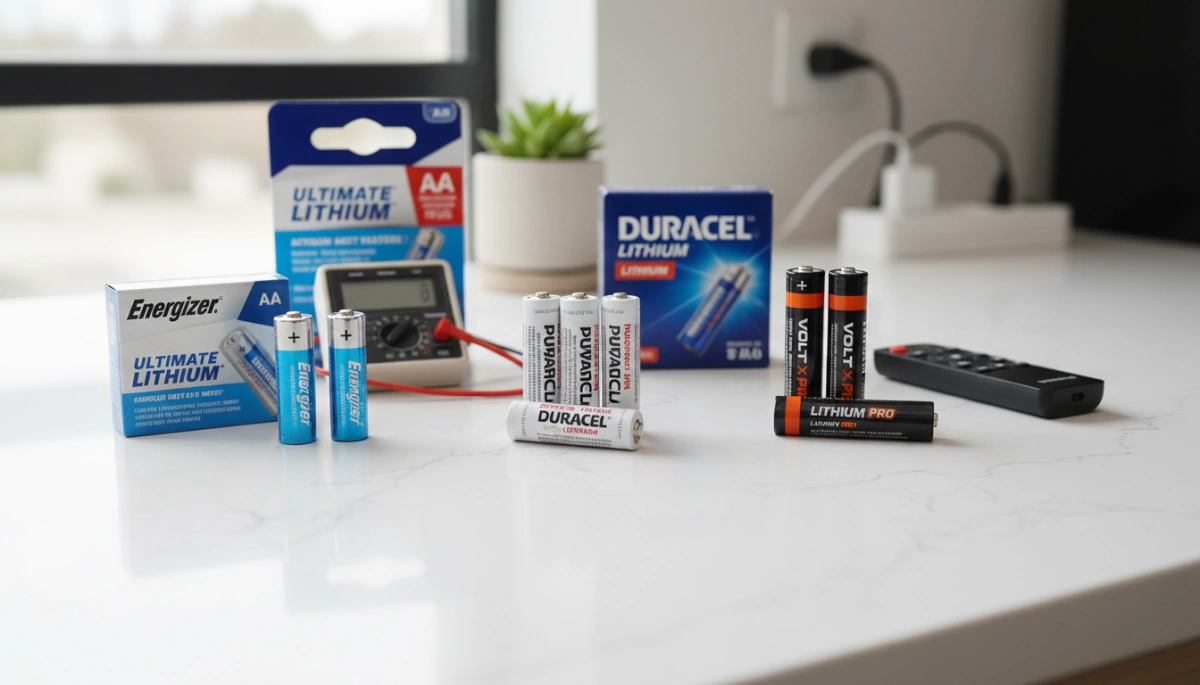
AA pillerin lityum olup olmadığını öğrenin ve lityum metal AA ile Li iyonunu performans, voltaj, güvenlik ve en iyi cihaz kullanımı açısından karşılaştırın.
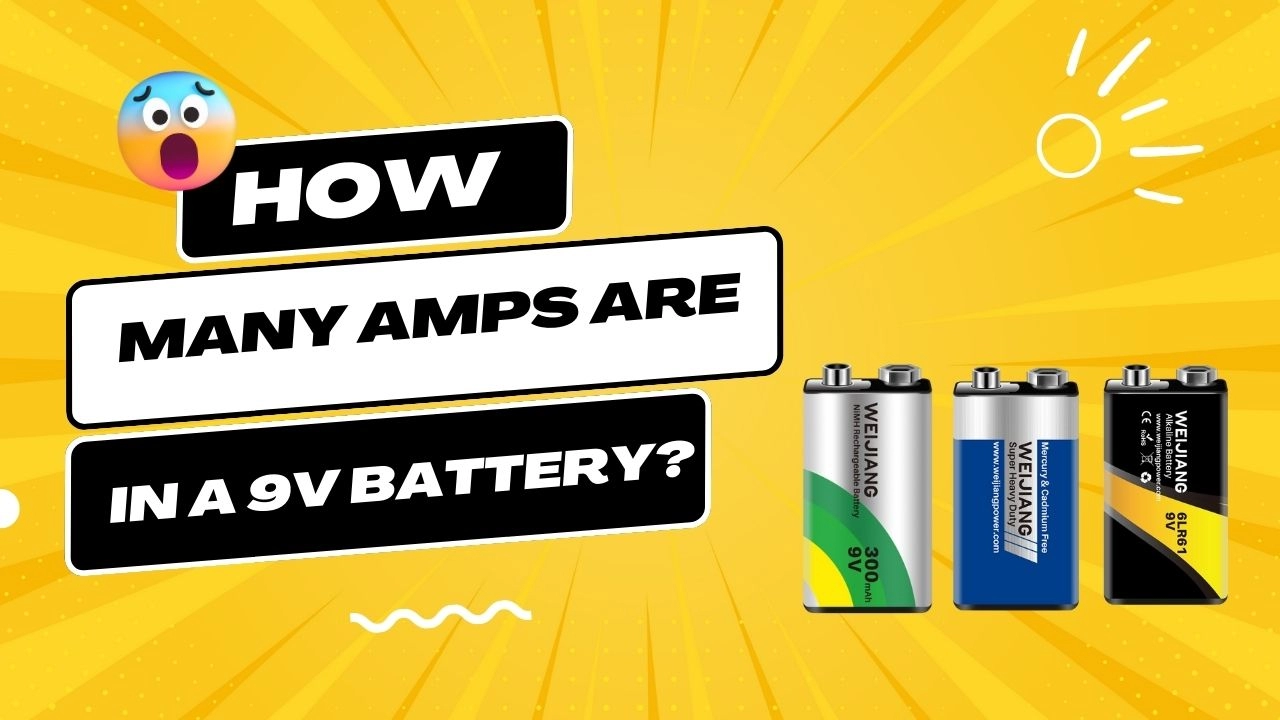
Bir 9V pilin kaç amper sağladığını öğrenin, alkalin ve lityum çıkışlarını, gerçek akım sınırlarını ve güvenilir performans için en iyi kullanımlarını karşılaştırın
