Do lithium-ion batteries have memory effect?
Lith-ion batteries have been debated among electronics enthusiasts for many years due to their memory effect, which causes them to hold less charge over time and reduce performance and battery life. This article explains their battery name, how they work, and if they suffer from this memory effect.
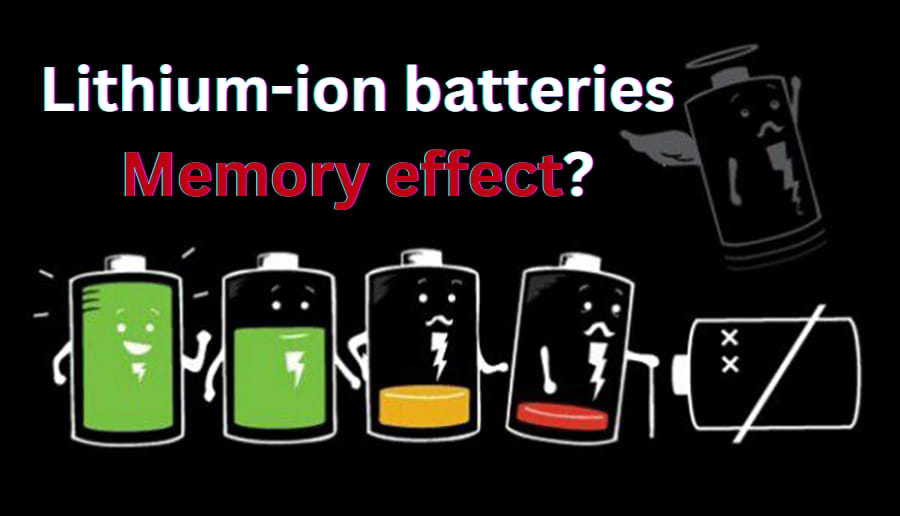
Do lithium-ion batteries have memory effect?
Lithium-ion batteries are considered to have no memory effect, unlike NiCad batteries. Deep-discharge cycles are unnecessary; lithium-ion batteries can be recharged anytime. While some research suggests there may be a memory effect in LiFePO4 cells, this is still under debate. Lithium-ion batteries do not need to be periodically discharged to prevent a memory effect. They can offer reliable energy storage with minimal maintenance and a cycle of partial charge.
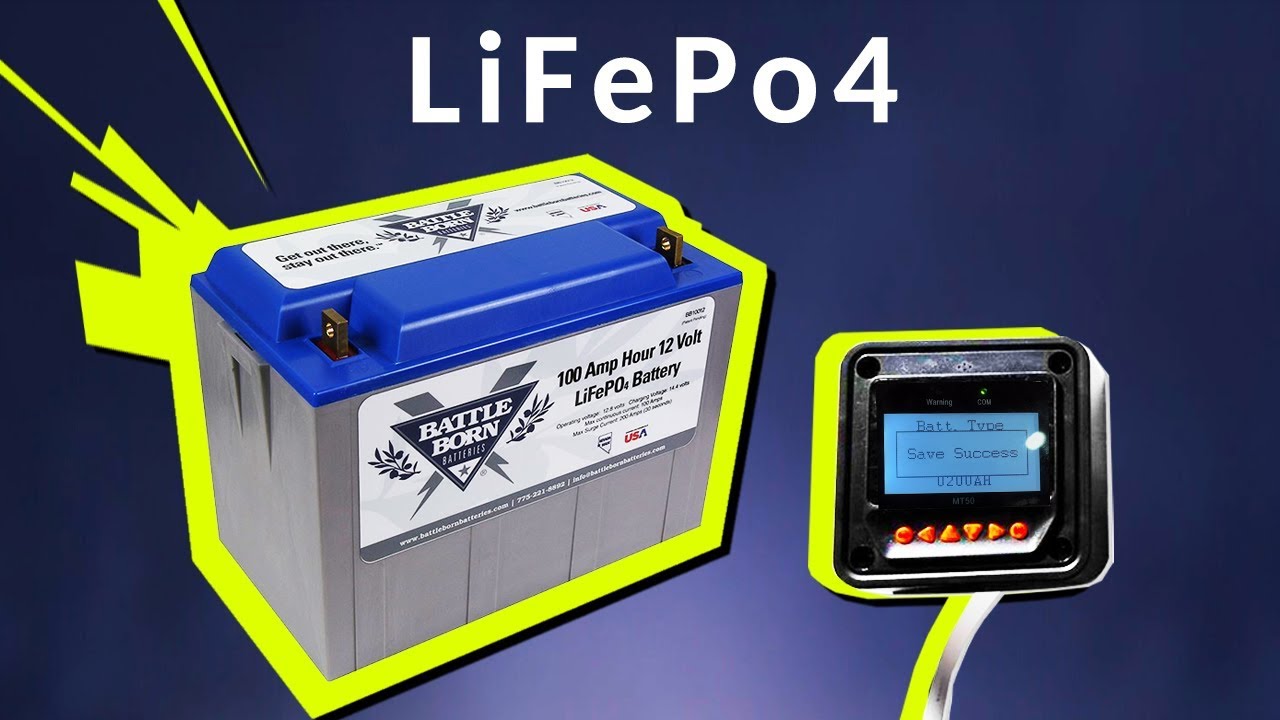
Do lifepo4 batteries have memory?
The short answer is no; LiFePO4 batteries do not have a memory effect. This is because the chemistry of LiFePO4 batteries is much more stable and consistent than NiCd and NiMH batteries. When nickel-cadmium (NiCd) and nickel-metal hydride (NiMH) batteries are discharged and recharged multiple times without being fully discharged each time, the battery “remembers” the highest charge level. It will no longer accept a full charge.
What is the memory effect in the battery uses?
The memory effect, also known as the lazy battery effect or battery memory, is observed in nickel-cadmium rechargeable batteries when the battery is repeatedly charged before its stored energy is used up. This is due to the battery having ‘remembered’ its regular usage pattern and storing less power, as well as how the metal and electrolyte react to form a salt, which can affect the battery’s performance and lead to reduced capacity or shortened capacity life spans.
Always allow your battery depletes before recharging it to prevent this from happening. This will increase the lifetime and maintain the quality of your battery. Also, avoid leaving your battery plugged in for extended periods, which may cause a memory effect.
Which batteries have the memory effect?
The true memory effect is a phenomenon that occurs in rechargeable batteries, such batteries as nickel-cadmium (NiCd) and nickel-metal hydride (NiMH). When these batteries are not fully discharged before recharging, the battery “remembers” the lower capacity. It will only charge up to that level. This can reduce the overall life of the battery.
Which battery has no memory effect?
Many batteries have similar problems with the memory effect. But fortunately, Most Lithium-ion cells, like NMC, NCA, and LCO, do not suffer from the same memory effect. Li-ion batteries can be recharged anytime without damaging their capacity or life span. Therefore, if you want a battery that won’t have charge memory effect issues, then Li-ion is your best bet.
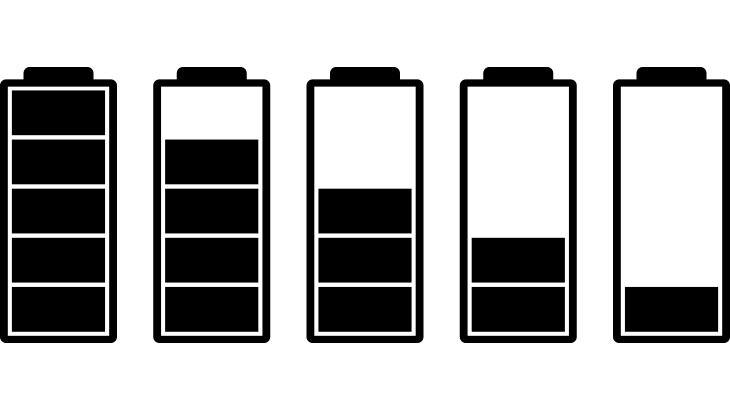
Does it need to be fully charged when the Lithium-ion battery first charges?
No, to get the most out of your Lithium-ion battery, it’s best to charge it up to around 50% when you first use it. You can slowly increase the charge level over time and extend its life. Also, avoid leaving your device plugged in for a long time, which could harm the battery.
Generally speaking, Lithium-ion batteries should be partially charged when first used. This is because fully discharging a Li-ion battery can cause damage to the battery and reduce its overall lifespan, so partial discharges are your better choice.
How to prevent memory effects in battery use?
Regular charging and discharge model of the battery power is the best way to prevent memory effects in battery use. This should be done up to 100% and discharged entirely before recharging. And you should also maintain your battery at a moderate temperature to help it retain its charge better and reduce memory effects. Finally, it would be best to use quality batteries and original chargers for long-term use and the highest rate; otherwise, cheap or counterfeit batteries may not be able to handle the regular charge/discharge cycle and develop memory effects.
What is a lithium-ion battery?
A lithium-ion battery is a rechargeable battery commonly used in consumer electronics. It comprises one or more cells, each containing a positive electrode (anode) and a negative electrode (cathode). The anode typically contains lithium ions, while the cathode includes other materials like carbon. When the battery is in use, the lithium ions move from the anode to the cathode and back again as electricity flows through the cell.
Lithium-ion batteries are lightweight and have a high energy density, making them ideal for powering small electronic devices such as smartphones and laptops. They also have a relatively long life span, with some batteries lasting up to 10 years. However, they can be expensive and prone to overheating if not correctly cared for.
How do lithium-ion batteries work?
Lithium-ion batteries are a type of rechargeable battery, and they work by transferring lithium ions between two electrodes (an anode and a cathode) during charging and discharging. Lithium ions travel from the anode to the cathode during charging, storing energy. When discharged, the ions move back to the anode, releasing energy as they go.
In conclusion
The memory effect does not exist with lithium-ion batteries. Even so, it’s crucial to routinely charge and discharge your lithium-ion batteries to maintain their health. Doing this gives you extended battery longevity and top performance. Always refer to the manufacturer’s instructions or contact a professional if you have questions about how to take the best possible care of your lithium-ion battery. Therefore, maintaining your lithium-ion battery might be beneficial in the long term.