Batería de litio para carrito de golf: Guía completa de actualización 2025
Batería de litio para carrito de golf las mejoras están explotando en popularidad en este momento. Y con razón.
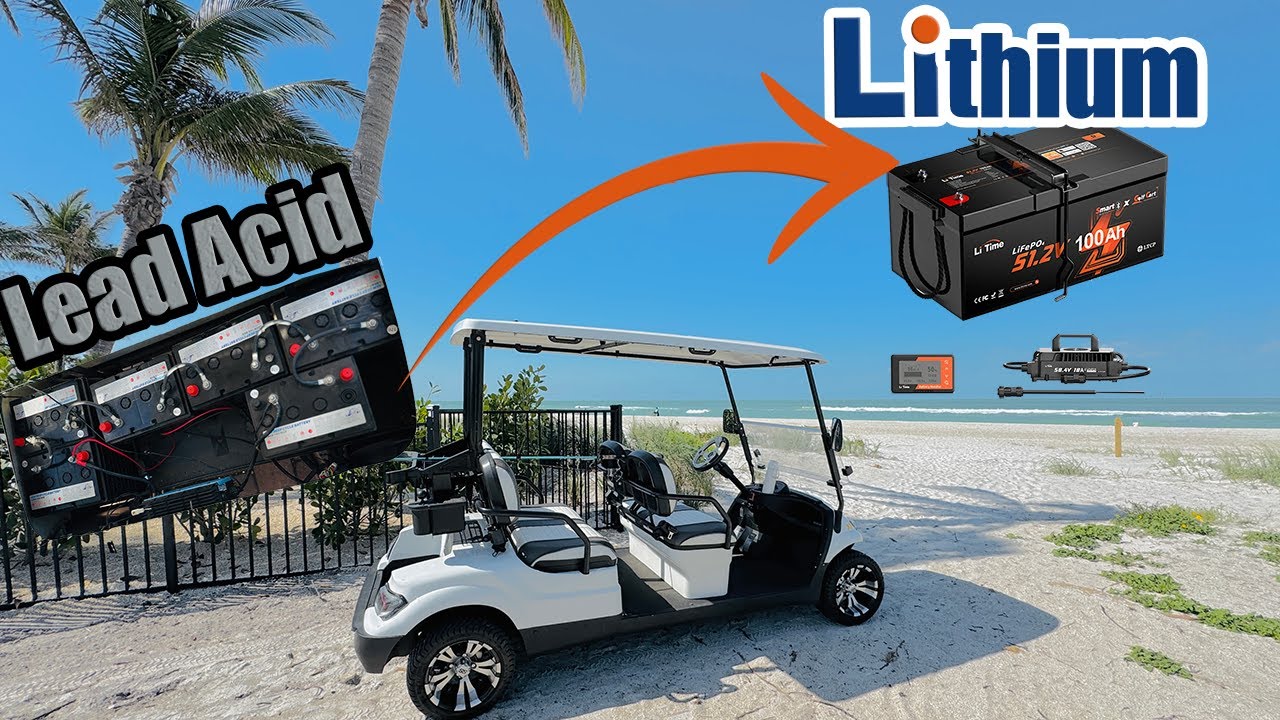
Recientemente ayudé a un amigo a cambiar su Club Car de plomo-ácido a litio. ¿La diferencia? Noche y día.
Su carrito pasó de luchar cuesta arriba a desplazarse como si estuviera en terreno plano. Además, no ha tocado una herramienta de mantenimiento de baterías en 6 meses.
Aquí está la cosa:
La mayoría de los propietarios de carritos de golf no se dan cuenta de que están dejando un rendimiento serio sobre la mesa con baterías tradicionales.
Así que en esta guía, como fabricante profesional de paquetes de baterías de litio, te mostraré exactamente por qué las baterías de litio superan a las de plomo-ácido. Y cómo elegir la perfecta para tu carrito.
Vamos a ello.
Por qué las baterías de litio están conquistando los carritos de golf
Aquí hay una estadística que me dejó boquiabierto:
Las ventas de baterías de litio para carritos de golf aumentaron un 471% el año pasado. Y se proyecta que se dupliquen para 2027.
¿Por qué el cambio masivo?
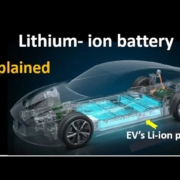
Simple: Las baterías de fosfato de hierro y litio (LiFePO4) resuelven prácticamente todos los problemas que tienen las baterías de plomo-ácido.
La ventaja de peso lo cambia todo
Las baterías de plomo-ácido son PESADAS.
Como, 300-400 libras de peso para un sistema típico de 48V.
¿Litio? Prueba con 90-120 libras.
Eso es una reducción de peso de 70%. Lo que significa:
- Tu carrito acelera más rápido
- Las colinas se vuelven mucho más fáciles
- Menos desgaste en tus neumáticos y suspensión
- Mejor manejo general
He visto carritos ganar de 3 a 5 mph solo por el ahorro de peso.
Casi duran para siempre
Mira estos números:
- Baterías de plomo-ácido: 500-1,000 ciclos de carga
- Baterías de litio: 2,000-5,000 ciclos
¿La traducción? Tu batería de litio puede durar de 8 a 10 años. ¿Plomo-ácido? Tienes suerte si consigues 3 a 5.
Y aquí está lo mejor:
Las baterías de litio mantienen su rendimiento durante todo el tiempo. Las de plomo-ácido empiezan a degradarse desde el primer día.
No requiere mantenimiento
¿Recuerdas revisar los niveles de agua? ¿Limpiar la corrosión? ¿Lidiar con derrames de ácido?
Sí, olvida todo eso.
Las baterías de litio necesitan exactamente cero mantenimiento. Instálalas y olvídate de ellas.
Un propietario de un resort con el que hablé ahorró 15 horas al mes en mantenimiento de baterías después de cambiar su flota a litio.
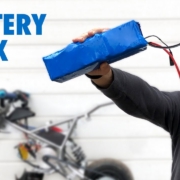
Cómo elegir la batería de litio adecuada para carritos de golf
No todas las baterías de litio son iguales.
Esto es exactamente lo que debes buscar:
Paso 1: Coincide tu voltaje
Este es fundamental.
La mayoría de los carritos de golf funcionan con:
- Sistemas de 36V (modelos más antiguos)
- Sistemas de 48V (los más comunes)
- Sistemas de 72V (alto rendimiento)
Instalar el voltaje incorrecto puede dañar la electrónica de tu carrito. Así que verifica primero tu configuración actual.
Consejo profesional: Busca una etiqueta debajo de tu asiento o consulta el manual del propietario.
Paso 2: Elige la capacidad adecuada (amperios-hora)
La capacidad determina tu autonomía. Aquí tienes mi recomendación según el uso:
Uso ligero (9-18 hoyos, terreno plano)
- Capacidad de 60-80Ah
- Autonomía: 32-48 km
Uso estándar (36 hoyos, algunas pendientes)
- Capacidad de 100-105Ah
- Autonomía: 56-80 km
Uso intensivo (todo el día, campos con pendientes)
- Capacidad de 150Ah+
- Autonomía: 50-70+ millas
La mayoría de las personas opta por 100Ah para un sistema de 48V. Es el punto ideal entre autonomía y costo.
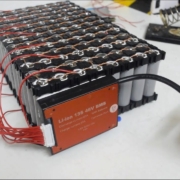
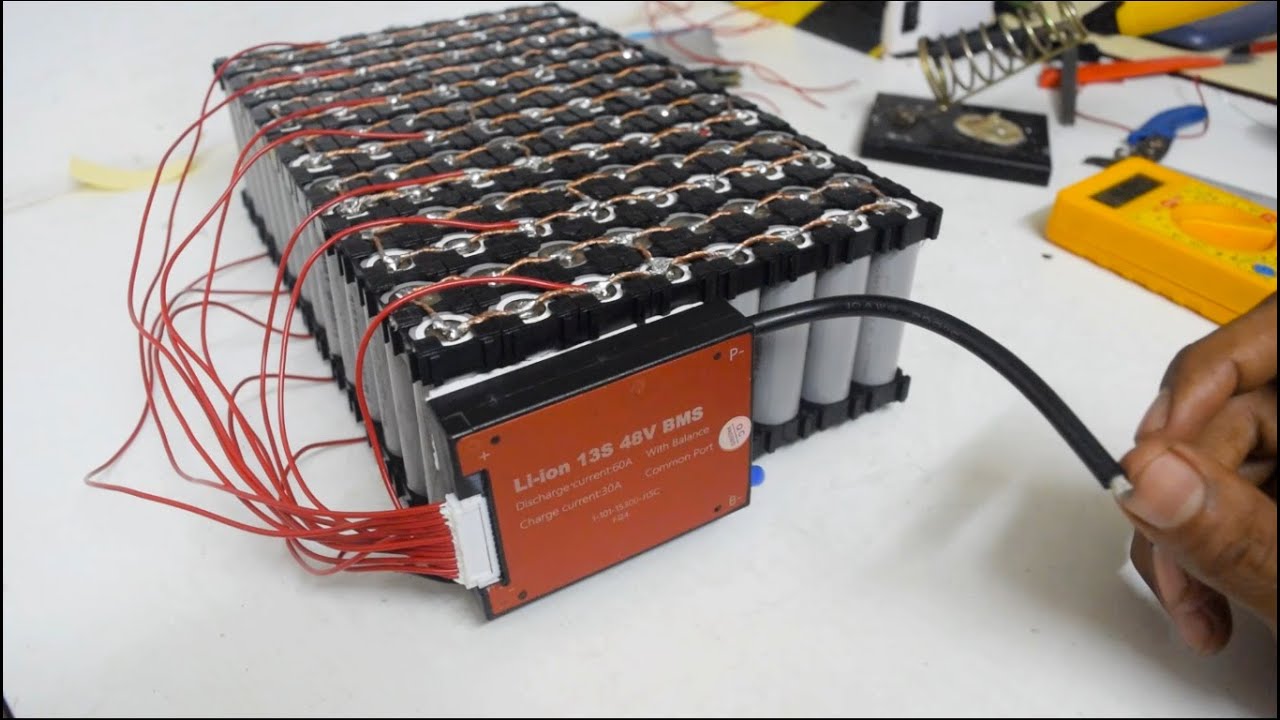
Paso 3: Verifica el BMS (Sistema de Gestión de Baterías)
El BMS es como el cerebro de tu batería. Uno bueno protege contra:
- Sobrecarga
- Sobredescarga
- Cortocircuitos
- Extremos de temperatura
No escatimes aquí. Un BMS de calidad puede literalmente salvar tu batería (y tu carrito) de daños.
Números de rendimiento reales que importan
Permíteme compartir algunos datos de pruebas reales de 2025:
Un EZ-GO RXV estándar con baterías de plomo-ácido:
- Velocidad máxima: 19.2 mph
- Autonomía: 28 millas
- Capacidad para subir colinas: Moderada
El mismo carrito con 105Ah de litio:
- Velocidad máxima: 22.1 mph
- Autonomía: 48 millas
- Capacidad de escalada: Excelente
Eso no es marketing vacío. Son números del mundo real.
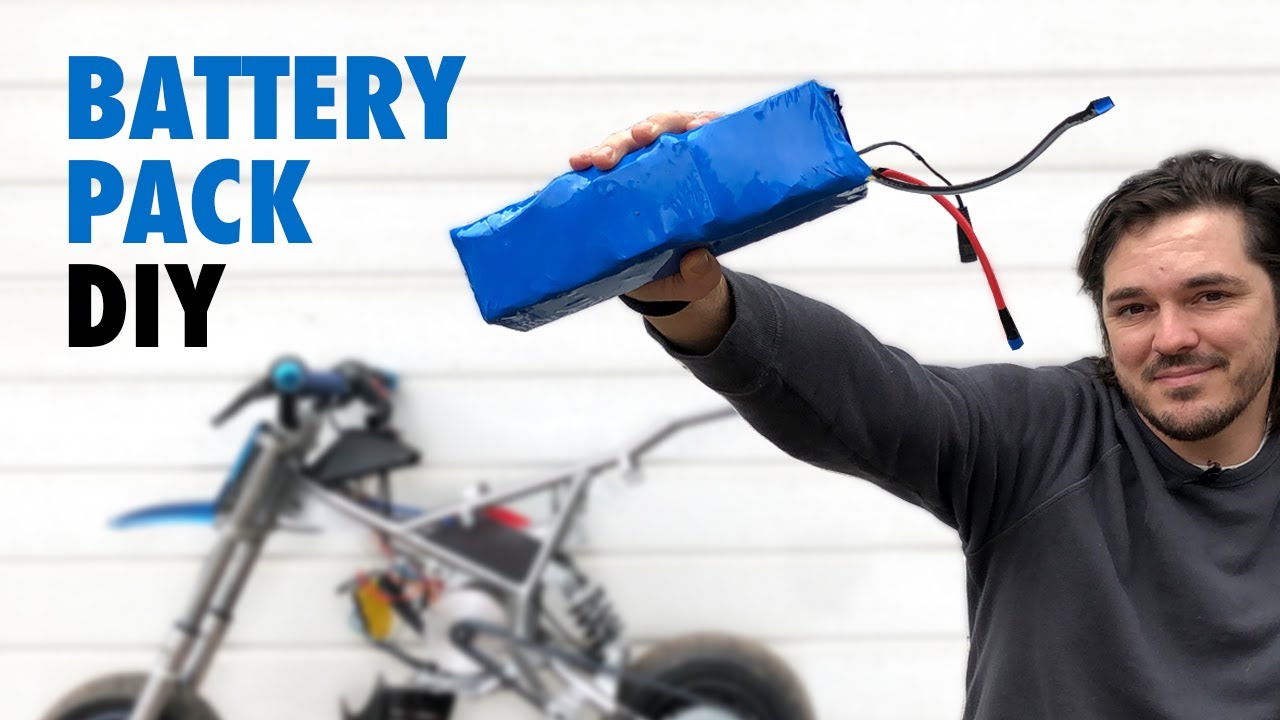
Instalación: Más fácil de lo que piensas
Sé lo que estás pensando:
“Esto suena complicado.”
Pero aquí está la verdad: La mayoría de las conversiones de litio toman 1-2 horas. Máximo.
El proceso básico
- Quitar las baterías viejas (usa guantes – son pesadas y potencialmente con fugas)
- Limpiar la bandeja de la batería (eliminar cualquier corrosión)
- Colocar el paquete de litio (la mayoría están diseñados para encajar perfectamente)
- Conectar los cables (rojo a positivo, negro a negativo)
- Instalar el nuevo cargador (el litio necesita un perfil de carga diferente)
- Probar todo (el voltaje debería leer alrededor de 51.2V para un paquete completo de 48V)
Eso es todo. En serio.
Muchas marcas como Allied Lithium y Eco Battery incluso incluyen videos paso a paso.
La Pregunta del Dinero: ¿Valen la pena?
Hablemos de euros y céntimos.
Costes iniciales:
- Set de plomo-ácido: $800-1.500
- Set de litio: $2.000-3.500
Parece caro, ¿verdad?
Pero mira esto:
En 10 años, comprarás baterías de plomo-ácido 2-3 veces. Además, suministros de mantenimiento. Plus el desperdicio de electricidad (el litio carga un 40% más eficientemente).
Cuando haces los cálculos, el litio en realidad AHORRA dinero después de aproximadamente 5 años.
Aquí tienes un ejemplo real de un campo de golf en España:
Cambiaron 50 carritos a litio en 2023. Inversión inicial: $125.000.
Ahorros para 2025:
- Reemplazos de batería evitados: $40.000
- Mano de obra de mantenimiento: $36.000
- Electricidad: $8.000
Ya llevan una ventaja de $84.000. Con más de 5 años de vida útil de la batería restante.
Las mejores opciones de baterías de litio para carritos de golf en 2025
Basado en mi investigación y comentarios de usuarios, estos son los destacados:
Mejor en general: Eco Battery 48V 105Ah
- Duración de vida útil de 5,000 ciclos
- Monitoreo por Bluetooth
- Listo para insertar
- Precio: $2,800-3,200
Mejor relación calidad-precio: Bolt Energy 48V 105Ah
- Gran rendimiento
- Garantía de 10 años
- Solo 55 libras
- Precio: $2,500-2,900
Mejor para carritos modificados: Allied Lithium
- Altas tasas de descarga
- Configuraciones personalizadas
- Fiabilidad comprobada
- Precio: $2,200-2,700
Errores comunes a evitar
He visto a personas arruinar sus actualizaciones de litio. Esto es lo que NO debes hacer:
Error #1: Usar el cargador equivocado
Los cargadores de plomo-ácido dañarán las baterías de litio. Siempre usa un cargador específico para litio.
Error #2: Mezclar tipos de baterías
Nunca mezcles litio con plomo-ácido. Jamás. Es peligroso y destruirá ambas baterías.
Error #3: Ignorar los límites de temperatura
El frío extremo (por debajo de 0°F) puede reducir temporalmente la capacidad. Guarda tu carrito en un lugar más cálido si es posible.
Error #4: Comprar marcas sin nombre
Quédate con empresas establecidas. Un BMS de mala calidad puede causar incendios literalmente.
El futuro ya está aquí
Los principales fabricantes están tomando nota.
Club Car ahora ofrece litio como opción de fábrica. Yamaha hace lo mismo. Incluso EZ-GO se unió en 2024.
Eso te dice todo sobre hacia dónde se dirige la industria.
Consejos rápidos de mantenimiento
Aunque las baterías de litio son básicamente libres de mantenimiento, sigue estos consejos para una vida útil máxima:
- Carga después de cada uso (las cargas parciales están bien)
- Almacena con una carga del 50-60% si no vas a usar durante meses
- Mantén las conexiones limpias y apretadas
- Actualiza el firmware del BMS si está disponible
- Evita dejarlo completamente muerto durante períodos prolongados
Eso quizás sea 10 minutos de trabajo al AÑO.
Impacto ambiental que realmente importa
Aquí tienes algo genial:
Las baterías de litio son mucho más ecológicas que las de plomo-ácido. Sin plomo tóxico. Sin derrames de ácido. Y son reciclables al 95%.
Además, como duran 3 veces más, estás generando mucho menos desperdicio.
Un campo de golf calculó que evitarán 12,000 libras de residuos de plomo-ácido en la próxima década al cambiar a litio.
Tomando tu decisión
¿La conclusión?
Si usas tu carrito regularmente y planeas mantenerlo por más de 3 años, el litio tiene sentido.
Las ganancias en rendimiento por sí solas valen la pena. Añade los ahorros en mantenimiento y una vida útil más larga. ¿No es una decisión fácil?
La única razón para seguir con plomo-ácido es si:
- Raras veces usas tu carrito
- El presupuesto está muy ajustado en este momento
- Vas a venderlo pronto
¿De lo contrario? Haz el cambio.
Reflexiones finales
Batería de litio para carrito de golf Las conversiones son una de esas mejoras que simplemente tienen sentido.
Mejor rendimiento. Menos complicaciones. Costos a largo plazo más bajos.
Aún no he conocido a alguien que se arrepintiera de cambiar. Pero sí he conocido a muchos que desearon haberlo hecho antes.
La tecnología está comprobada. Los precios son razonables. Y los beneficios son inmediatos.
¿Qué estás esperando?