The Ultimate 21700 Battery Charging Guide
We all rely on electronic devices in our daily lives, and many of these gadgets are powered by rechargeable lithium-ion batteries. One of the popular battery sizes is the 21700, which has gained attention for its high capacity and performance. If you have a device that uses a 21700 battery, it’s crucial to know how to charge it safely and effectively. This article will guide you through charging a 21700 battery, discuss safety precautions, and share some best practices.
Charging Equipment for 21700 Batteries
Before charging your 21700 battery, you will need the right equipment. There are two main types of chargers for these batteries: dedicated chargers and universal chargers.
Dedicated Chargers
Dedicated chargers are specifically designed to charge 21700 batteries. They typically have slots for one or more batteries and offer features like overcharge protection, temperature monitoring, and adjustable charging currents.
Universal Chargers
Universal chargers are versatile devices that can charge a variety of battery sizes, including 21700 batteries. These chargers usually come with adjustable charging slots to accommodate different battery sizes and may have similar features as dedicated chargers, like overcharge protection and temperature monitoring.
Preparing to Charge Your 21700 Battery
Before charging your 21700 battery, there are a few essential steps to ensure safety and proper charging.
Safety Precautions
- Only use a charger designed for 21700 batteries.
- Charge the battery in a well-ventilated area, away from flammable materials.
- Do not charge damaged or swollen batteries.
- Do not leave the charging process unattended for extended periods.
Inspecting the Battery
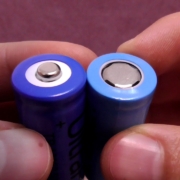
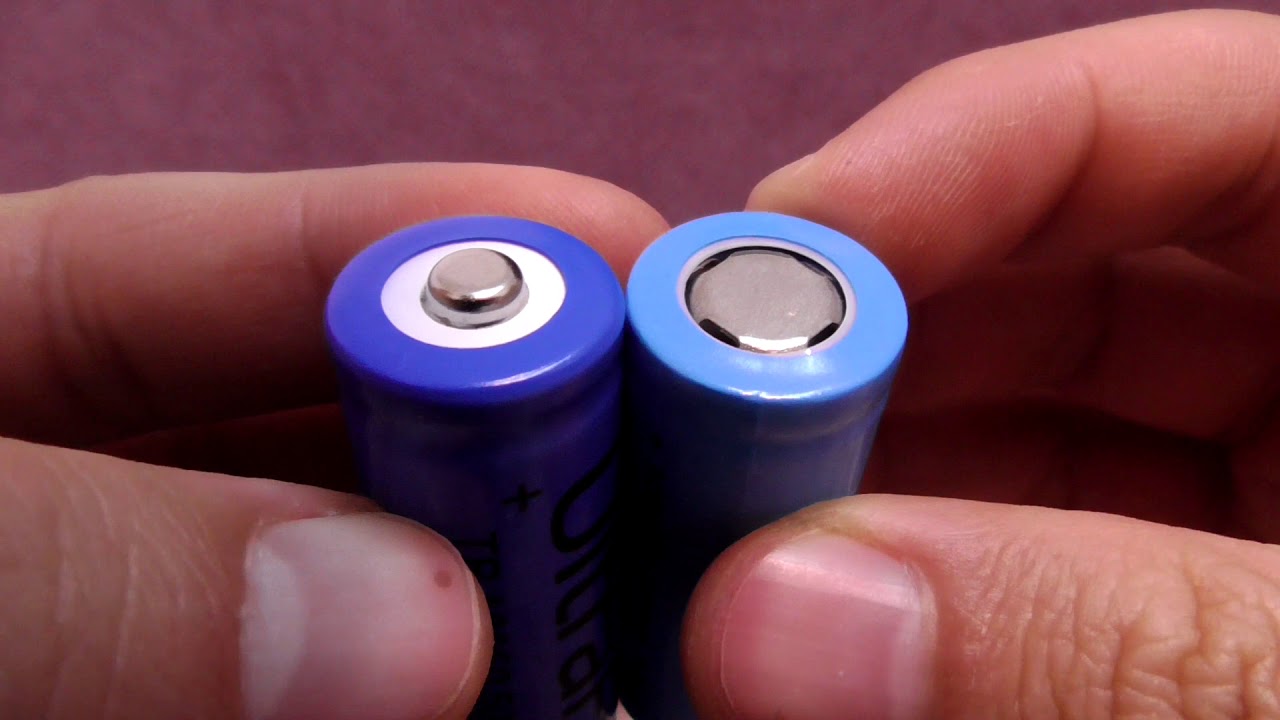
- Check the battery for visible damage, such as dents, punctures, or swelling.
- Ensure the battery’s terminals are clean and free of debris.
- Confirm the battery’s voltage is within the acceptable range for charging (typically around 3.2V to 4.2V).
How to charge the 21700 battery?
Now that you have your equipment ready and your battery inspected, it’s time to start the charging process.
Insert the Battery into the Charger
Place the 21700 battery in the charging slot, ensuring proper alignment of the positive (+) and negative (-) terminals. Most chargers have indicators to help you position the battery correctly.
Connect the Charger to a Power Source
Plug the charger into a suitable power source, such as a wall outlet or a USB port. The charger should display the battery’s current voltage and begin charging.
Monitor the Charging Process
Keep an eye on the charger’s display to track the charging progress. Most chargers will show the charging voltage, current, and estimated time remaining. Some chargers may also have indicators for battery temperature or charging status.
Remove the Battery After Charging
Once the battery is fully charged (typically around 4.2V), disconnect the charger from the power source and remove the battery from the charger. Your 21700 battery is now ready to use.
What amp should I charge my 21700 battery?
You should choose an amp compatible with 21700 batteries and can charge at 0.5C (2 Amps). Look for a charger with adjustable charge current and voltage settings to set it to the correct parameters for your battery.
When choosing a charger, ensure it has safety features like over-voltage and short circuit protection. This will help protect your battery from damage while charging. Additionally, look for a charger with temperature monitoring capabilities; this will help maintain safe temperatures while charging and prevent overheating.
How long does a 21700 battery take to charge?
It depends on the type of 21700 battery you use and the charger you have. Generally, it takes 4-8 hours to charge a 21700 battery. However, if you use a fast charger, it may take significantly less time. It’s important to note that charging too quickly can reduce the lifespan of your battery, so be sure to follow the manufacturer’s instructions for the best results.
Additionally, many chargers have an auto shut-off feature that will stop charging when your battery reaches full capacity. This can help prevent overcharging and maximize your battery’s life.
What is the full charge of 21700?
A 21700 battery reaches a full charge at 4.2V, which includes the nominal open circuit voltage (3.7V) and an additional 0.5V. Avoid exceeding this voltage to charge your battery correctly and extend its lifespan. Use a smart charger that detects when the battery attains its full charge and automatically stops the charging process. This practice safeguards your battery from overcharging, preventing reduced performance and potential damage.
Charging Tips and Best Practices
To ensure the longevity and performance of your 21700 battery, follow these tips and best practices:
Avoid Overcharging
Overcharging can damage your battery and reduce its lifespan. Use a charger with overcharge protection or remove the battery promptly once it reaches full charge.
Charge at the Right Temperature
Charging at extreme temperatures can affect battery performance and safety. Aim to charge your battery in a cool, dry place with temperatures between 50°F (10°C) and 86°F (30°C).
Store Batteries Properly
Store your 21700 batteries in a cool, dry place away from direct sunlight or heat sources. A protective case or battery holder can help prevent accidental short-circuiting or damage.
Conclusion
Charging your 21700 battery safely and effectively is crucial to maximizing its performance and lifespan. Following the outlined steps and best practices, you can ensure that your battery remains in optimal condition and powers your devices efficiently. Always use the appropriate charger, monitor the charging process, and practice safety precautions.
FAQs
- Can I charge my 21700 battery with a 18650 charger?
Using a 18650 charger for a 21700 battery is not recommended, as the charger may not be compatible with the larger battery size. Always use a charger specifically designed for 21700 batteries or a universal charger with adjustable slots.
- How long does it take to charge a 21700 battery?
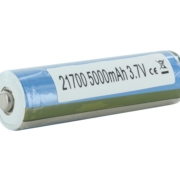
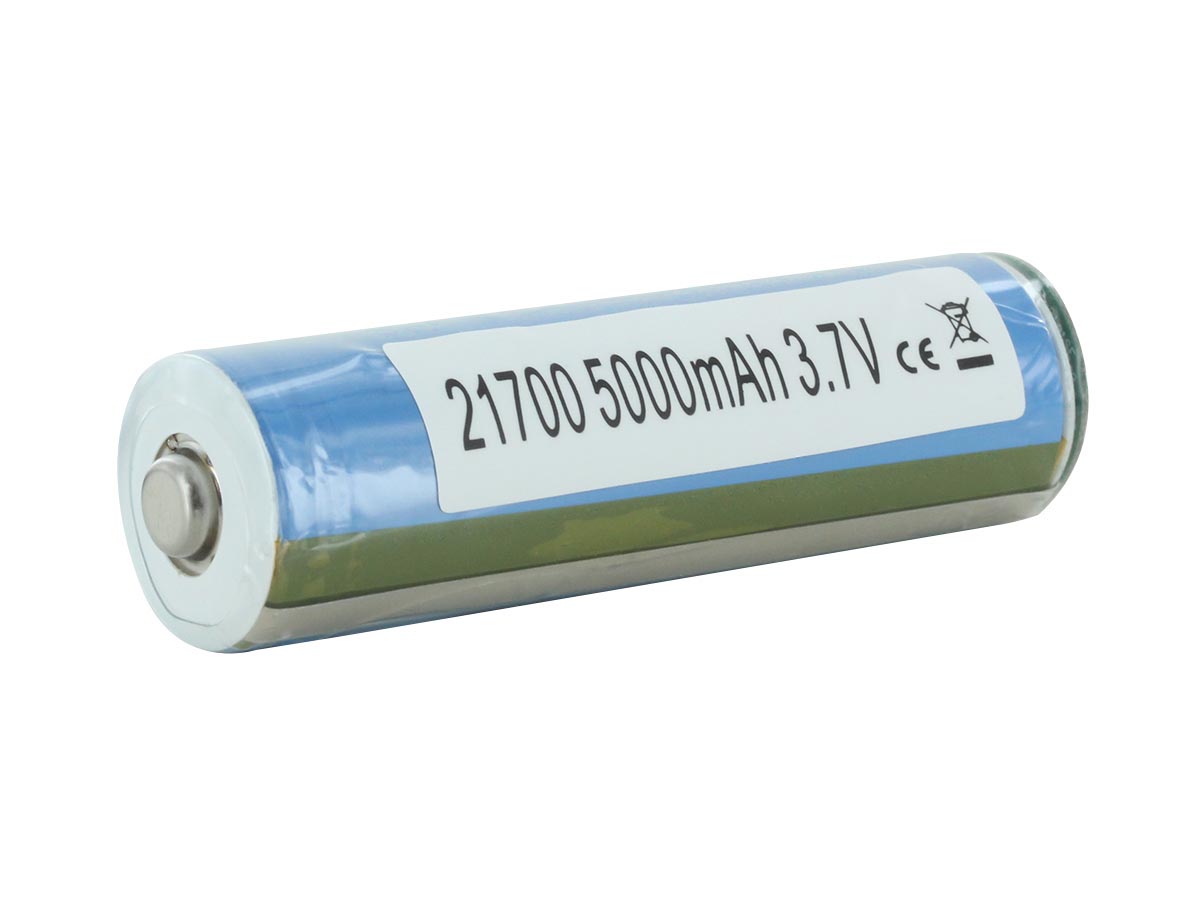
The charging time for a 21700 battery depends on the battery capacity and the charging current. A typical 21700 battery with a 5000mAh capacity charged at 1A will take approximately 5 hours to charge fully.
- Is it safe to charge 21700 batteries overnight?
While many chargers have safety features like overcharge protection, leaving batteries charging overnight or unattended for extended periods is not recommended. Always monitor the charging process to prevent potential hazards.
- Can I charge my 21700 battery using a USB cable?
You can charge your 21700 battery using a USB cable, compatible charger, and USB input. Ensure the charger is designed for 21700 batteries or is a universal charger with adjustable slots. Remember that charging via USB may be slower than using a wall outlet.
- What happens if I overcharge my 21700 battery?
Overcharging a 21700 battery can cause damage to the battery’s internal structure, potentially leading to reduced capacity, shorter lifespan, and even safety hazards like swelling or leaking. To prevent overcharging, use a charger with overcharge protection or remove the battery promptly once it reaches full charge.