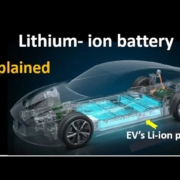
Batterie lithium pour chariot de golf : Guide complet de mise à niveau 2025
Batterie au lithium pour voiturette de golf Les améliorations connaissent une popularité explosive en ce moment. Et pour une bonne raison.
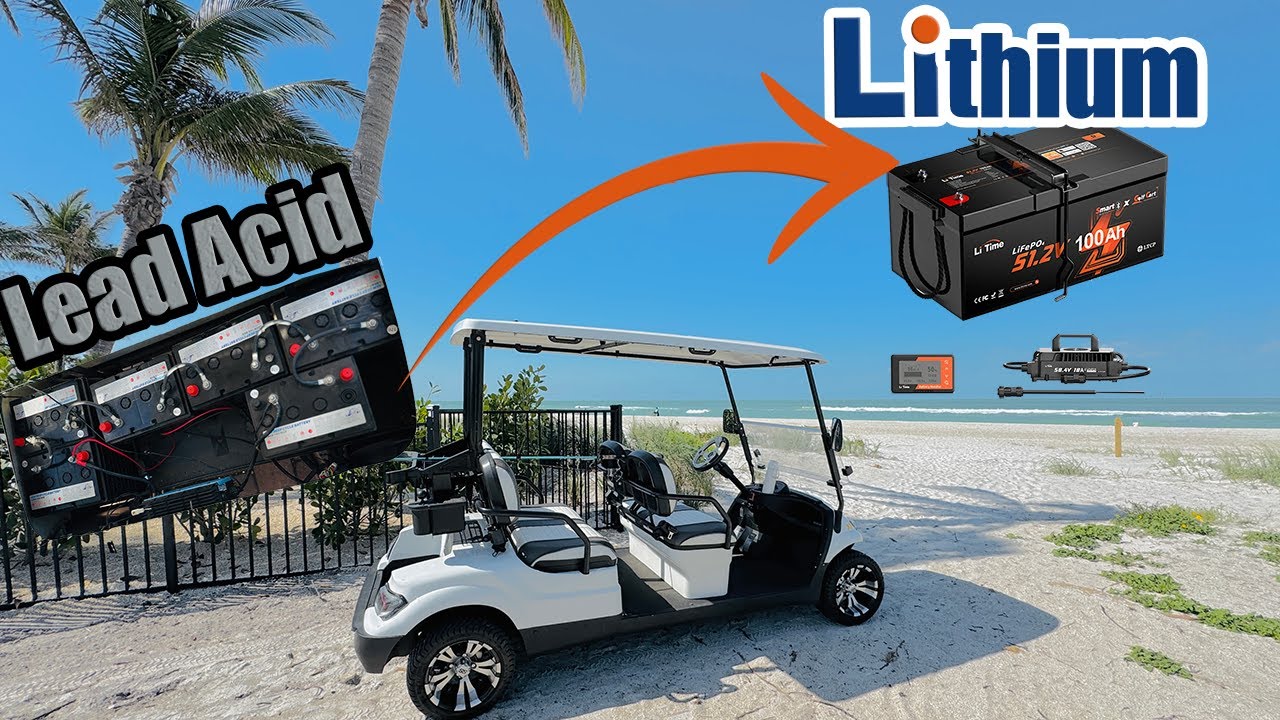
J'ai récemment aidé un ami à passer sa Club Car de l'acide plomb à lithium. La différence ? Nuit et jour.
Sa voiturette est passée de peiner en montée à rouler comme si c'était sur du plat. De plus, il n'a pas touché à un outil d'entretien de batterie depuis 6 mois.
Voici le truc :
La plupart des propriétaires de voiturettes de golf ne réalisent pas qu'ils laissent une performance sérieusement sous-exploitée avec les batteries traditionnelles.
Donc, dans ce guide, en tant que fabricant de packs de batteries au lithium, je vais vous montrer exactement pourquoi les batteries au lithium surpassent l'acide plomb. Et comment choisir la parfaite pour votre voiturette.
Allons-y.
Pourquoi les batteries au lithium prennent le contrôle des voiturettes de golf
Voici une statistique qui m'a bluffé :
Les ventes de batteries au lithium pour voiturettes de golf ont augmenté de 471 % l'année dernière. Et elles devraient doubler d'ici 2027.
Pourquoi ce changement massif ?
Simple : Les batteries au phosphate de fer lithium (LiFePO4) résolvent pratiquement tous les problèmes que rencontrent les batteries à l'acide plomb.
L'avantage du poids change tout
Les batteries à l'acide plomb sont LOURDES.
Comme, 300-400 livres lourd pour un système typique de 48V.
Lithium ? Essayez 40-55 kilogrammes.
C’est une réduction de poids de 70%. Ce qui signifie :
- Votre chariot accélère plus rapidement
- Les collines deviennent beaucoup plus faciles
- Moins d’usure sur vos pneus et votre suspension
- Une meilleure maniabilité globale
J’ai vu des chariots gagner 3-5 mph rien qu’avec l’économie de poids.
Ils durent presque éternellement
Regardez ces chiffres :
- Batteries au plomb-acide : 500-1 000 cycles de charge
- Batteries au lithium : 2 000-5 000 cycles
Traduction ? Votre batterie au lithium peut durer 8-10 ans. Au plomb-acide ? Vous avez de la chance d’obtenir 3-5 ans.
Et voici le coup de grâce :
Les batteries au lithium maintiennent leur performance tout au long de leur vie. Le plomb-acide commence à se dégrader dès le premier jour.
Aucun entretien requis
Vous vous souvenez de vérifier les niveaux d’eau ? Nettoyer la corrosion ? Gérer les déversements d’acide ?
Oui, oubliez tout ça.
Les batteries au lithium nécessitent exactement zéro entretien. Installez-les et oubliez-les.
Un propriétaire de resort avec qui j’ai parlé a économisé 15 heures par mois en maintenance de batterie après avoir remplacé sa flotte par du lithium.
Comment choisir la bonne batterie au lithium pour les chariots de golf
Toutes les batteries au lithium ne se valent pas.
Voici exactement ce qu'il faut rechercher :
Étape 1 : Vérifiez votre tension
Celle-ci est cruciale.
La plupart des chariots de golf fonctionnent avec :
- Systèmes 36V (modèles plus anciens)
- Systèmes 48V (le plus courant)
- Systèmes 72V (haute performance)
Installer une tension incorrecte endommagera l’électronique de votre chariot. Vérifiez donc d’abord votre configuration actuelle.
Astuce : Recherchez une étiquette sous votre siège ou consultez le manuel du propriétaire.
Étape 2 : Choisissez la bonne capacité (ampères-heures)
La capacité détermine votre autonomie. Voici ma recommandation en fonction de l’utilisation :
Usage léger (9-18 trous, terrain plat)
- Capacité de 60-80Ah
- Autonomie : 32-48 km
Usage standard (36 trous, quelques collines)
- Capacité de 100-105Ah
- Autonomie : 56-80 km
Usage intensif (toute la journée, parcours vallonnés)
- Capacité de 150Ah+
- Autonomie : 50-70+ miles
La plupart des gens optent pour 100Ah pour un système de 48V. C’est le point idéal entre autonomie et coût.
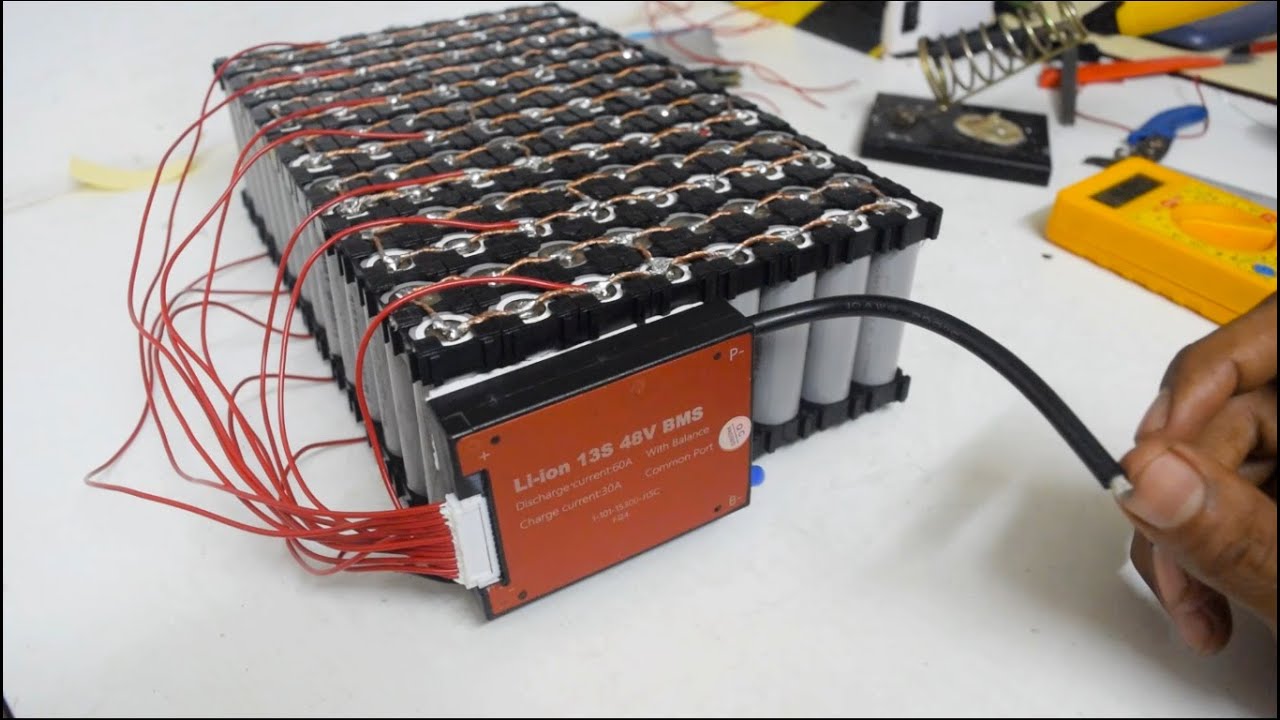
Étape 3 : Vérifiez le BMS (Système de Gestion de Batterie)
Le BMS est comme le cerveau de votre batterie. Un bon BMS protège contre :
- La surcharge
- La décharge excessive
- Les courts-circuits
- Les extrêmes de température
Ne faites pas l’impasse ici. Un BMS de qualité peut littéralement sauver votre batterie (et votre véhicule) de dommages.
Véritables chiffres de performance importants
Laissez-moi partager quelques données de test réelles de 2025 :
Un EZ-GO RXV standard avec batteries au plomb-acide :
- Vitesse maximale : 19,2 mph
- Autonomie : 28 miles
- Capacité de montée : Modérée
Même véhicule avec lithium de 105Ah :
- Vitesse maximale : 22,1 mph
- Portée : 48 miles
- Capacité de montée : Excellent
Ce n’est pas de la communication marketing. Ce sont des chiffres du monde réel.
Installation : Plus facile que vous ne le pensez
Je sais ce que vous pensez :
« Cela semble compliqué. »
Mais voici la vérité : La plupart des conversions au lithium prennent 1 à 2 heures. Max.
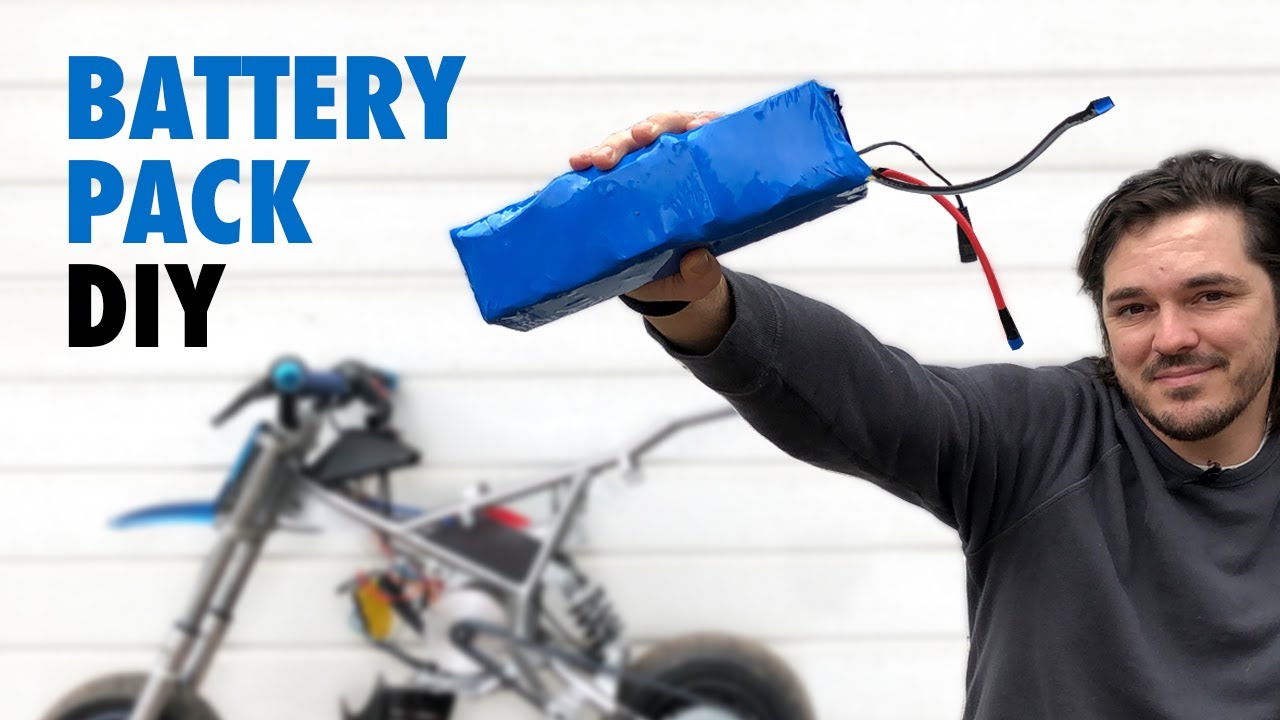
Le processus de base
- Retirer les anciennes batteries (portez des gants – elles sont lourdes et potentiellement fuyantes)
- Nettoyer le plateau de la batterie (enlever toute corrosion)
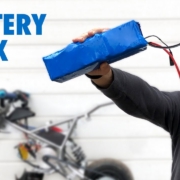
- Insérer le pack lithium (la plupart sont conçus pour s’adapter parfaitement)
- Connecter les câbles (rouge au positif, noir au négatif)
- Installer le nouveau chargeur (le lithium nécessite un profil de charge différent)
- Tester tout (la tension devrait indiquer environ 51,2V pour un pack de 48V complet)
C’est tout. Sérieusement.
De nombreuses marques comme Allied Lithium et Eco Battery incluent même des vidéos étape par étape.
La question d’argent : Sont-elles rentables ?
Parlons en euros et en centimes.
Coûts initiaux :
- Ensemble plomb-acide : $800-1 500
- Ensemble lithium : $2 000-3 500
Ça paraît cher, non ?
Mais regardez ceci :
Sur 10 ans, vous achèterez des batteries plomb-acide 2 à 3 fois. Plus les fournitures d’entretien. Plus la perte d’électricité (le lithium se charge 40% plus efficacement).
En faisant le calcul, le lithium ÉCONOMISE en réalité de l’argent après environ 5 ans.
Voici un exemple concret d’un terrain de golf en France :
Ils ont remplacé 50 chariots par du lithium en 2023. Investissement initial : $125 000.
Économies d’ici 2025 :
- Remplacements de batteries évités : $40 000
- Main-d'œuvre pour l’entretien : $36 000
- Électricité : $8 000
Ils ont déjà $84 000 d’avance. Avec plus de 5 ans de durée de vie restante pour les batteries.
Meilleurs choix de batteries lithium pour chariots de golf 2025
D’après mes recherches et retours d’utilisateurs, voici les incontournables :
Meilleur global : Eco Battery 48V 105Ah
- Durée de vie de 5 000 cycles
- Surveillance Bluetooth
- Prêt à être installé
- Prix : $2,800-3,200
Meilleur rapport qualité-prix : Bolt Energy 48V 105Ah
- Excellentes performances
- Garantie de 10 ans
- Seulement 25 kg
- Prix : $2,500-2,900
Meilleur pour les chariots modifiés : Allied Lithium
- Taux de décharge élevés
- Configurations personnalisées
- Fiabilité éprouvée
- Prix : $2,200-2,700
Erreurs courantes à éviter
J'ai vu des personnes gâcher leurs mises à niveau lithium. Voici ce qu'il NE faut PAS faire :
Erreur #1 : Utiliser le mauvais chargeur
Les chargeurs plomb-acide endommageront les batteries lithium. Utilisez toujours un chargeur spécifique au lithium.
Erreur #2 : Mélanger différents types de batteries
Ne jamais mélanger le lithium avec des batteries au plomb-acide. Jamais. C'est dangereux et cela détruira les deux batteries.
Erreur #3 : Ignorer les limites de température
Le froid extrême (en dessous de 0°F) peut temporairement réduire la capacité. Rangez votre chariot dans un endroit plus chaud si possible.
Erreur #4 : Acheter des marques sans nom
Restez fidèle aux entreprises établies. Un mauvais BMS peut littéralement provoquer des incendies.
Le futur est déjà là
Les grands fabricants y prêtent attention.
Club Car propose désormais le lithium en option d'usine. Yamaha fait de même. Même EZ-GO a rejoint le mouvement en 2024.
Cela vous dit tout sur la direction que prend l'industrie.
Conseils rapides d'entretien
Même si les batteries au lithium sont pratiquement sans entretien, suivez ces conseils pour une durée de vie maximale :
- Chargez après chaque utilisation (les charges partielles sont acceptables)
- Stockez à 50-60% de charge si vous ne l'utilisez pas pendant des mois
- Gardez les connexions propres et serrées
- Mettez à jour le firmware du BMS si disponible
- Évitez de laisser la batterie complètement déchargée pendant de longues périodes
Cela représente peut-être 10 minutes de travail par AN.
Impact environnemental qui compte vraiment
Voici quelque chose de cool :
Les batteries au lithium sont bien plus écologiques que le plomb-acide. Pas de plomb toxique. Pas de déversements d'acide. Et elles sont recyclables à 95%.
De plus, puisqu'ils durent 3 fois plus longtemps, vous créez beaucoup moins de déchets.
Un terrain de golf a calculé qu'il évitera 5 443 kilogrammes de déchets d'acide plomb sur la prochaine décennie en passant au lithium.
Prendre votre décision
En résumé ?
Si vous utilisez votre chariot régulièrement et que vous prévoyez de le garder plus de 3 ans, le lithium est logique.
Les gains de performance à eux seuls en valent la peine. Ajoutez les économies d'entretien et la durée de vie plus longue ? C'est évident.
La seule raison de rester avec l'acide plomb est si :
- Vous utilisez rarement votre chariot
- Le budget est très serré en ce moment
- Vous vendez bientôt
Sinon ? Faites le changement.
Réflexions finales
Batterie au lithium pour voiturette de golf Les conversions sont l'une de ces améliorations qui ont tout simplement du sens.
Meilleure performance. Moins de tracas. Coûts à long terme plus faibles.
Je n'ai pas encore rencontré quelqu'un qui ait regretté de changer. Mais j'ai rencontré beaucoup qui auraient souhaité le faire plus tôt.
La technologie est éprouvée. Les prix sont raisonnables. Et les avantages sont immédiats.
Qu'attendez-vous ?