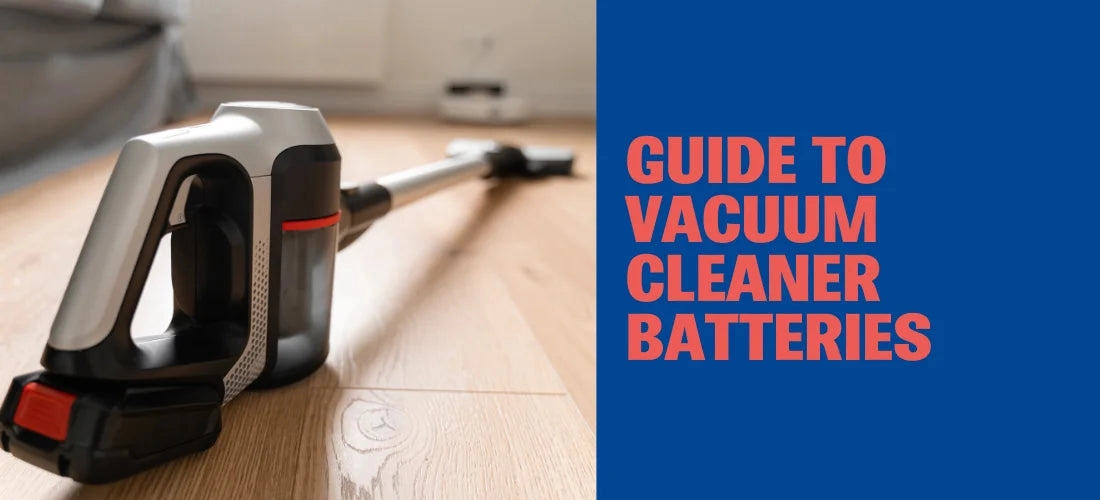
You might be asking yourself: Can cordless vacuum batteries be replaced? or is my expensive appliance destined for the trash?
Here is the truth: Most manufacturers don’t want you to know how easy it is to revive your vacuum.
Instead of spending $500 on a new machine, a simple battery swap can restore your suction power and runtime instantly.
In this guide, you’re going to learn exactly how to diagnose a dead battery, choose the right replacement, and install it in minutes.
Ready to save money and get your cleaning power back?
Let’s dive right in.
Why Do Cordless Vacuum Batteries Die?
It is a scenario I see all the time: you grab your trusty vacuum for a quick cleanup, but it shuts off before you even finish the living room rug. You aren’t imagining things—cordless vacuum batteries degrade over time. It is an unavoidable fact of chemistry, not necessarily a defect in your machine.
Understanding Lithium-Ion Lifecycles
Most modern machines rely on Lithium-ion battery technology. While powerful and lightweight, these cells have a finite lifespan, typically measured in charge cycles. Think of a cycle as draining the battery from 100% to 0% and charging it back up.
- Natural Degradation: After roughly 300 to 500 cycles, the battery’s capacity to hold energy naturally diminishes.
- Chemical Aging: Even if you don’t use the vacuum daily, the chemicals inside the cells break down over the years, leading to a shorter Lithium-ion battery lifespan.
Common Culprits: Heat and Overcharging
Beyond natural aging, how we treat our tools matters. Heat is the number one enemy of battery health. Running your vacuum on “Max” or “Turbo” mode exclusively generates excessive internal heat, which accelerates wear on the cells. Similarly, leaving a battery plugged in constantly in a hot environment can stress the internal components, causing them to fail prematurely.
Signs It Is Time to Replace
If you are wondering if your unit is on its last legs, look for these red flags. These are clear indicators that you likely need a replacement rather than a whole new vacuum:
- Runtime Drop: The vacuum runs for 5 minutes instead of the original 40.
- Pulsing: The motor starts and stops repeatedly (often mistaken for a filter blockage).
- Failure to Charge: The vacuum battery not charging at all when placed on the dock, or the LED light flashes red.
- Low Power: You notice the cordless vacuum losing suction power significantly faster than usual, even with clean filters.
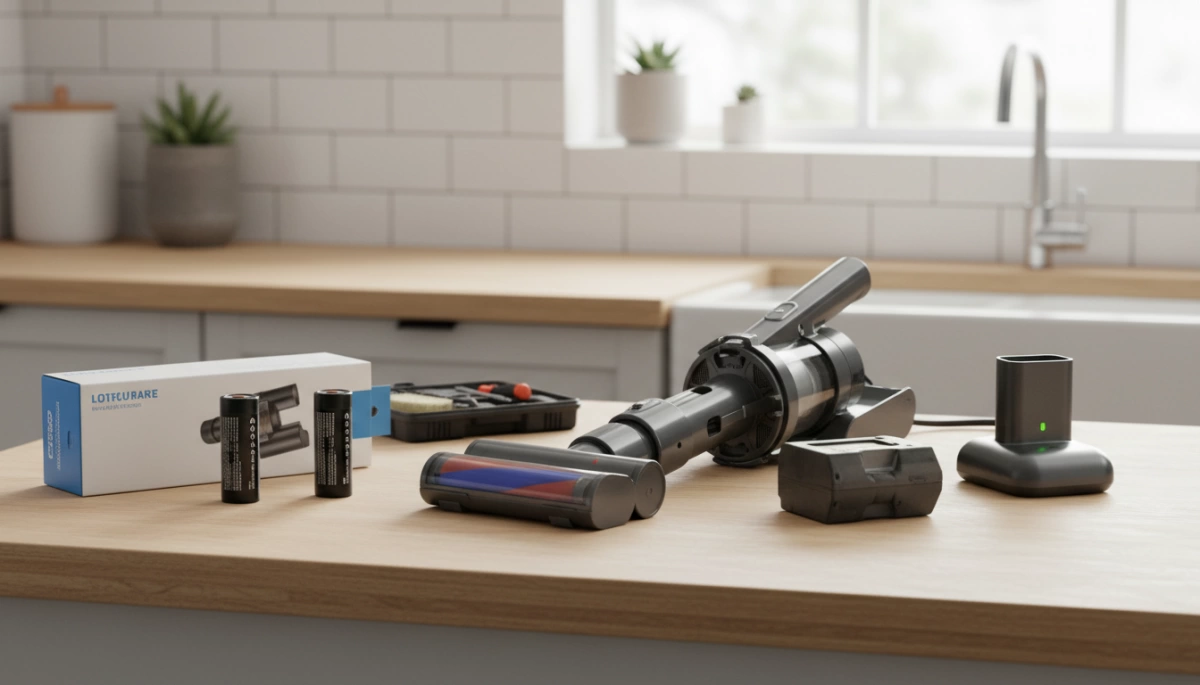
Types of Vacuum Batteries: Snap-in vs. Screw-in
When figuring out if can cordless vacuum batteries be replaced, the answer often depends on the specific mounting style of your device. Not all power packs are created equal, and manufacturers generally use three main designs to house the cells. Understanding the factors to consider when designing and manufacturing 18650 lithium batteries helps explain why some brands opt for sealed units while others prioritize easy swapping.
Snap-in (Click-in) User-Friendly Designs
This is the gold standard for convenience. Many modern high-end stick vacuums utilize a click-in battery swap system. You simply press a release button—usually red or grey—and the battery slides right out.
- No tools required: You can swap a dead battery for a fresh one in seconds.
- Extended runtime: Because they are so easy to change, many users keep a spare charged and ready to go.
- Visual cues: These often have built-in LED indicators showing charge levels.
Screw-in (Internal) Designs
Older models, particularly earlier Dyson V-series (like the V6, V7, and some V8s), use a screw-in battery installation method. While not as instant as the click-in type, these are still fully replaceable.
- Tools needed: You will typically need a small Phillips-head screwdriver to remove three screws (one in the handle, two on the underside).
- Secure fit: The screws ensure the battery doesn’t wiggle during vigorous cleaning.
- Availability: Replacement parts are widely available, even if the installation takes about five minutes longer.
Built-in Units in Low-End Models
In budget-friendly handhelds or older dustbusters, the battery is often integrated deep inside the housing. These are not designed for the average user to service.
- Difficult access: Reaching the battery often requires opening the entire motor housing.
- Soldering required: The wires are frequently soldered directly to the board rather than using a connector.
- Repair viability: For these units, professional handheld vacuum repair is often more expensive than the vacuum itself, making them essentially disposable once the battery dies.
Is Replacing the Battery Worth It? (Cost Benefit Analysis)
Let’s be real for a second. When your vacuum starts dying five minutes into a cleaning session, the impulse is often to hop online and buy a brand-new machine. But before you drop hundreds of dollars, we need to look at the math. Can cordless vacuum batteries be replaced to save your wallet? Absolutely.
Comparing Replacement Costs vs. Buying New
The financial gap between a swap and a new purchase is massive. High-end cordless vacuums in the US market can easily range from $300 to over $700. In contrast, the vacuum battery replacement cost typically sits between $40 and $100, depending on the model and capacity.
Here is the breakdown of why I almost always recommend the swap:
- Cost Efficiency: You save roughly 80-90% of the cost of a new appliance.
- Performance Restoration: A new battery often restores the original suction power and runtime, making the vacuum feel new again.
- Retaining Accessories: You don’t have to deal with incompatible attachments or mounting docks that come with switching brands or models.
Environmental Impact and Reducing E-Waste
Beyond the savings, there is a serious environmental argument here. We live in a “throw-away” culture, but tossing a perfectly good motor and plastic housing just because the lithium cells have degraded is incredibly wasteful.
By replacing just the power pack, you keep pounds of non-biodegradable plastic and metal out of landfills. It is a simple way to extend the lifecycle of your appliances. Furthermore, responsible ownership involves recycling rechargeable batteries properly rather than trashing them. Most hardware stores and recycling centers accept old lithium-ion packs, ensuring hazardous materials are processed safely while you enjoy a refreshed vacuum.
Choosing the Right Replacement: OEM vs. High-Quality Aftermarket
Once you’ve confirmed that can cordless vacuum batteries be replaced, the next logical step is deciding where to buy the replacement. You generally have two options: sticking with the brand that made your vacuum (OEM) or choosing a specialized third-party manufacturer.
OEM vs Aftermarket Battery: The Pros and Cons
Original Equipment Manufacturer (OEM) batteries are the safe, default choice. You know they will fit, and they carry the brand name you trust. However, they often come with a premium price tag—sometimes costing nearly half as much as a brand-new vacuum. Additionally, OEM stock can be limited for older models, leaving you waiting on backorders.
High-quality aftermarket options, like the ones we engineer at Van4NU, offer a compelling alternative. We focus on performance and value. Often, a high-capacity vacuum battery from a specialized third-party can actually offer more runtime than the original battery did when it was new, simply because we utilize newer, denser battery cell technology.
Comparison at a Glance:
| Feature | OEM Battery | Van4NU (High-Quality Aftermarket) |
|---|---|---|
| Price Point | High ($$$) | Budget-Friendly ($$) |
| Capacity (mAh) | Standard | Often Upgraded (Longer Runtime) |
| Compatibility | Guaranteed | Precision Molded |
| Availability | Variable | Readily Available |
Critical Safety Features
Cheap knock-offs give aftermarket batteries a bad reputation. It is vital to distinguish between “cheap” and “high-quality.” When selecting a replacement, especially for high-drain devices like vacuums, you must ensure the battery pack includes a robust Battery Management System (BMS).
At Van4NU, we integrate specific protections to match the safety standards of major US appliance brands:
- Overcharge Protection: Prevents the battery from accepting current once it reaches 100%, which is critical for preventing fires.
- Temperature Monitoring: Sensors that cut power if the cells get too hot during “Max Mode” suction.
- Short-Circuit Prevention: Safeguards the vacuum’s motor from electrical faults.
Understanding how power is managed is key to longevity. For example, optimized battery charging mechanisms are essential for maintaining the health of the lithium cells over hundreds of cycles. Always look for safety certifications (like CE, FCC, or RoHS) on the label to ensure you aren’t compromising your home’s safety for a lower price.
Step-by-Step Guide: How to Replace Your Vacuum Battery
Replacing the power source in your cordless vacuum is usually a straightforward process that takes less than ten minutes. Whether you are dealing with a Dyson battery replacement or swapping a pack on a Shark or Tineco, the fundamentals remain the same. I always recommend clearing a small workspace and gathering a Phillips-head screwdriver just in case your model isn’t a tool-free design.
Safety First: Power Down
Before doing anything, ensure the vacuum is completely powered off and disconnected from the charging dock or cable. Never attempt to remove a battery while the device is plugged into the wall. This simple step prevents electrical shorts and protects the vacuum’s internal circuitry during the swap.
Step 1: Identifying the Model Number
To ensure compatibility, locate the manufacturer’s label on your current battery or the underside of the vacuum handle. You need to match the voltage (V) and the model number exactly.
- Check the Label: Look for specific codes (e.g., SV10 for Dyson V8).
- Verify Voltage: A 21.6V system will not work with a 25.2V battery.
- Understand Capacity: If you see a higher mAh rating on a replacement, that’s actually a good thing. A higher battery mAh rating explained simply means the fuel tank is larger, giving you longer runtimes.
Step 2: Removal Instructions
The removal process depends entirely on whether your vacuum uses a click-in battery swap system or a screw-in battery installation.
- Snap-in (Click-in): These are the easiest to handle. Locate the large release button (usually red or grey) on the battery pack. Press it firmly and slide the battery down and out of the handle.
- Screw-in (Internal): These require a bit more work. You will typically find three screws: one at the back of the handle and two on the underside of the battery.
- Remove the dust bin to access the front screws easily.
- Unscrew the fasteners and keep them safe—you will need them for the new pack.
- Pull the battery downwards to disengage it from the terminal.
Step 3: Installing the New Van4NU Battery
Take your new Van4NU high-capacity battery and slide it into the slot.
- For Snap-in: Push it up until you hear a solid “click.” Give it a gentle tug to ensure it is locked in place.
- For Screw-in: Align the guide rails and slide the battery into the handle. Reinsert the screws, starting with the one in the handle to hold the weight, followed by the underside screws. Tighten them firmly but do not over-tighten to avoid cracking the plastic casing.
Step 4: Calibrating with the Initial Charge
Once installed, do not run the vacuum immediately. The new lithium-ion cells need to synchronize with the vacuum’s Battery Management System (BMS). Place the vacuum on the charger and let it reach 100% capacity. This initial charge is critical for calibrating the fuel gauge so the vacuum accurately displays remaining power. While our packs are robust, understanding the chemistry, much like knowing can you trickle charge a 18650 battery pack, helps you realize why proper charging cycles are vital for maintaining the health of the cells inside your new pack. If the device doesn’t start after charging, check your cordless vacuum troubleshooting guide to ensure the contacts are clean and seated correctly.
How to Maximize Your New Battery’s Lifespan
Now that you have a fresh power source installed, you want to ensure you aren’t shopping for another replacement next year. I often see perfectly good batteries fail early simply because of poor maintenance habits. To extend vacuum battery life, you need to treat the lithium-ion chemistry with a bit of care. Since many of these packs are constructed using standard cylindrical cells, understanding the components—similar to learning how to identify 18650 battery specs—can help you realize why temperature and physical stress matter so much.
Follow these simple rules to get the best performance out of your new battery:
- Avoid Extreme Heat: Heat is the number one killer of lithium batteries. Never store your vacuum or its charging dock in a hot garage, near a radiator, or in direct sunlight. Room temperature (around 65°F–75°F) is the sweet spot for storage.
- Smart Charging Habits: You do not need to drain the battery to 0% before recharging. Unlike older battery technologies, lithium-ion prefers partial discharges. However, if you are going away for a week or more, unplug the charger; leaving it at 100% charge for weeks on end can stress the cells.
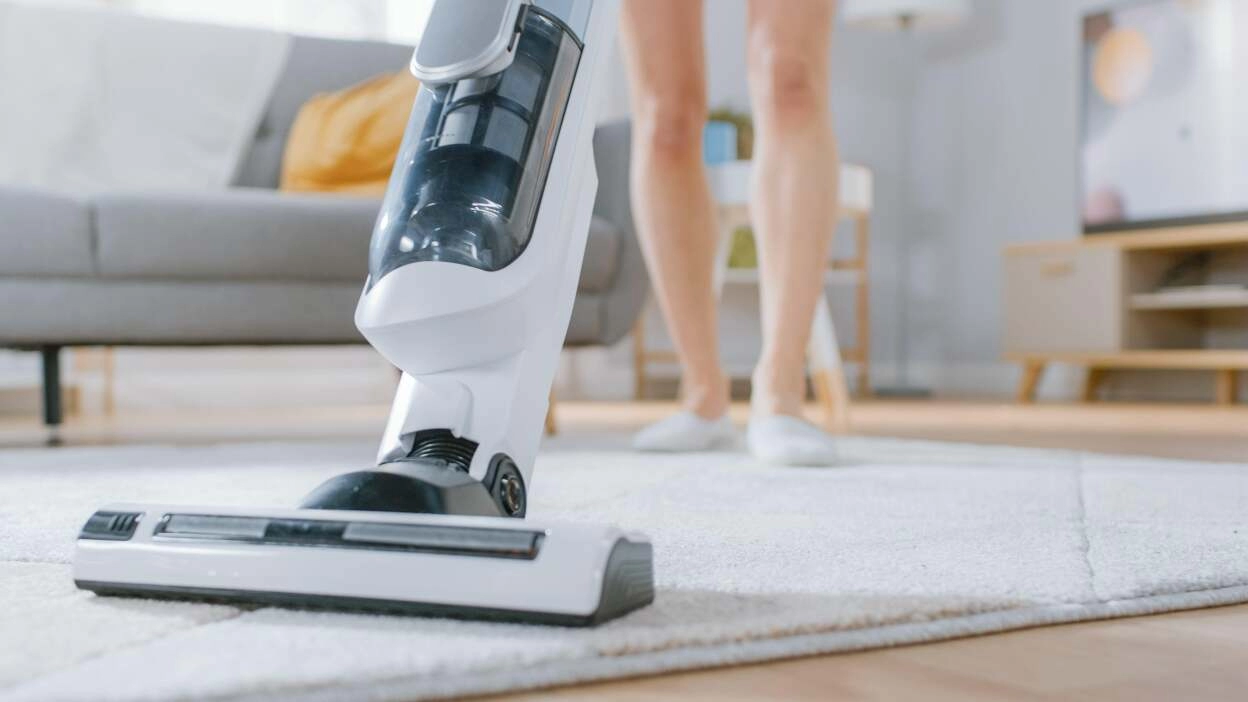
- Clean Your Filters: This is the most overlooked factor for vacuum runtime improvement. A clogged filter restricts airflow, forcing the vacuum motor to work harder to create suction. This increased load pulls more amps from the battery, causing it to overheat and degrade faster. Keep your filters clean to reduce strain on the system.
Proper Disposal of Old Batteries
Now that we have established that can cordless vacuum batteries be replaced, and you have successfully installed a fresh pack, you are left with the old hardware. It is absolutely critical that you do not throw lithium-ion batteries in your household trash.
These batteries contain volatile chemicals and heavy metals. If a battery is crushed in a standard garbage truck compactor, it can puncture, short-circuit, and cause a dangerous fire. Just as there are specific precautions when using a 26650 lithium-ion battery, there are strict safety rules for disposing of any lithium-based power cell to prevent thermal runaway and environmental contamination.
Locating Recycling Centers and Drop-Off Points
Recycling rechargeable batteries in the United States is straightforward thanks to widespread collection programs. You likely visit these locations regularly:
- Home Improvement Stores: Major chains like Home Depot and Lowe’s typically have dedicated “Call2Recycle” bins near the entrance or customer service desk.
- Electronics Retailers: Best Buy and Staples generally accept old battery packs and e-waste.
- Municipal Hazardous Waste: Check your local city or county website. Most municipalities have designated drop-off days or facilities for hazardous household waste.
Safety Tip: Before dropping off your battery, place a piece of electrical tape over the metal terminals. This prevents the battery from shorting out against other batteries in the recycling bin.


