Electric Scooter Battery MOQ Guide for B2B Importers
Learn Electric scooter batteries MOQ specs safety certifications and shipping to scale compliant profitable imports
Learn Electric scooter batteries MOQ specs safety certifications and shipping to scale compliant profitable imports

Learn how to evaluate electric scooter battery suppliers in China with a 7 step safety quality and compliance checklist
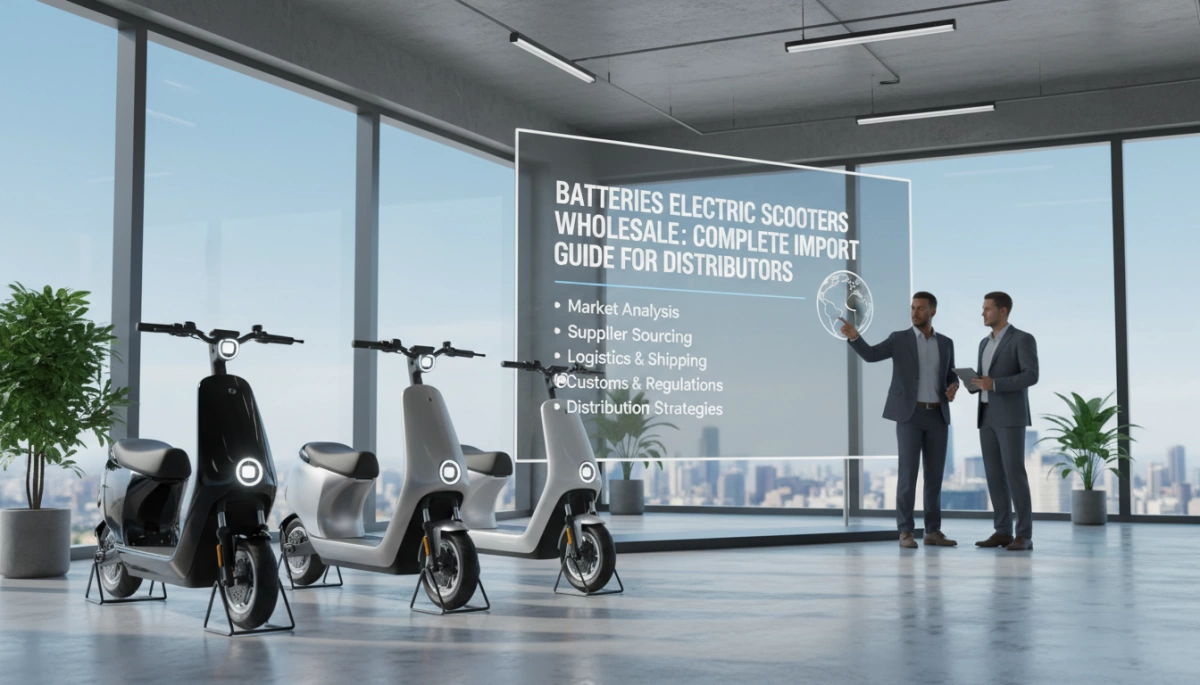
Batteries electric scooters wholesale guide for distributors covering UN383 certified packs BMS safety Class 9 DG shipping and landed cost calculation
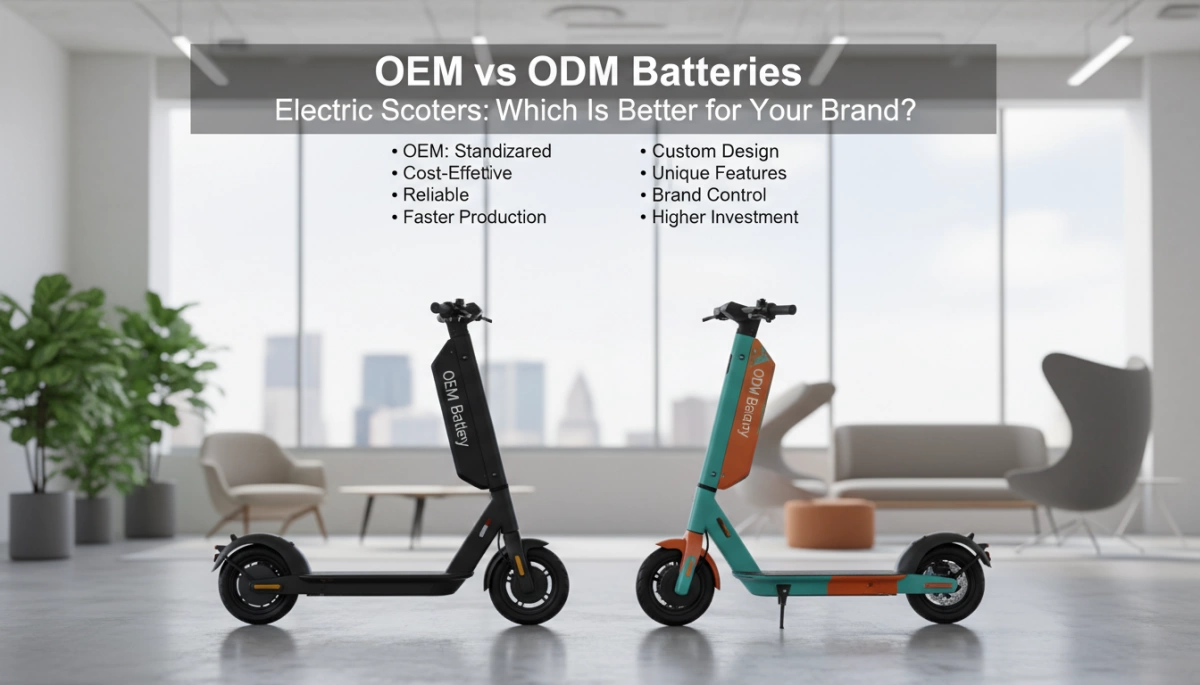
OEM vs ODM batteries for electric scooters compared to to help choose the best scalable or custom solution for your brand

Discover 10 key factors for buying electric scooter batteries in bulk covering safety performance compliance and choosing reliable OEM suppliers
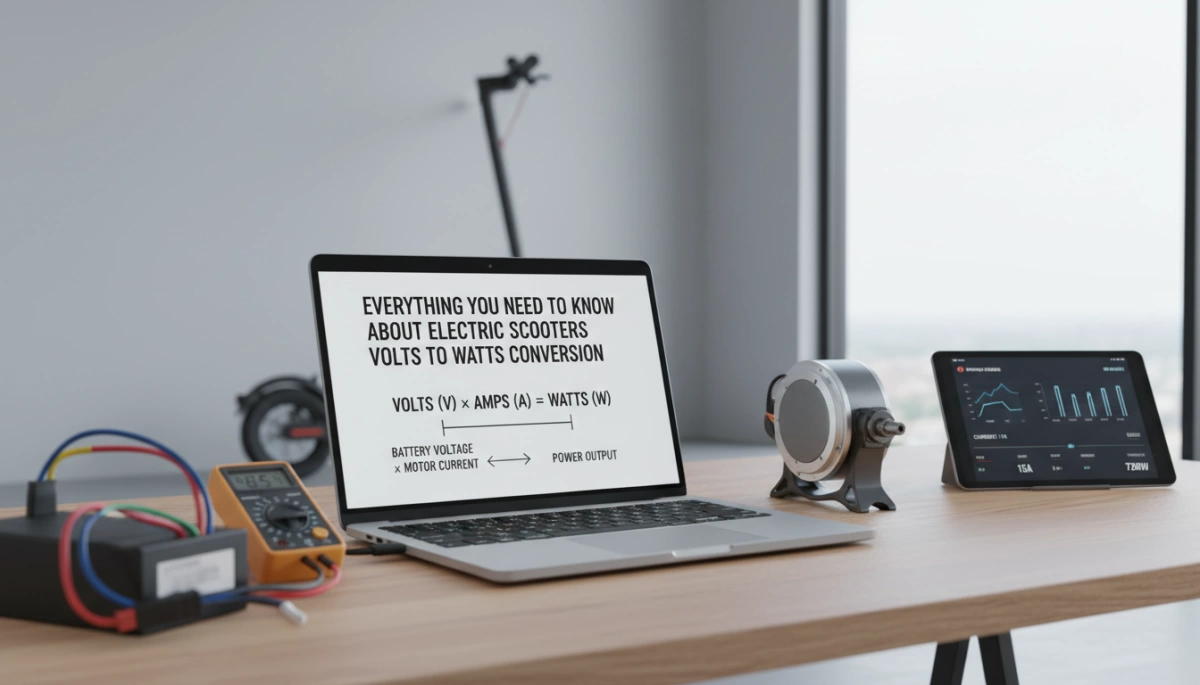
Learn volts to watts conversion for electric scooters speed torque range safety and lithium battery upgrades
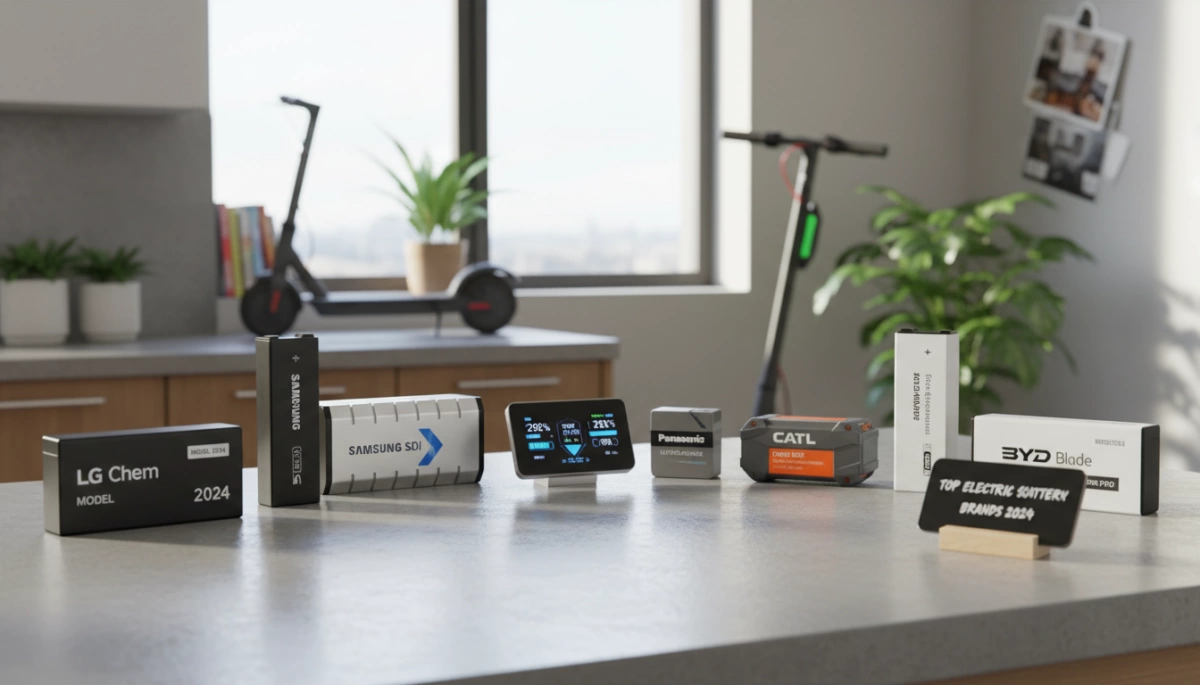
Discover the 10 best electric scooter battery manufacturers for safe long range Li ion and LiFePO4 packs for OEM fleets and riders

Discover which battery is best for electric scooter use comparing lithium ion vs LiFePO4 vs lead acid for range safety and lifespan
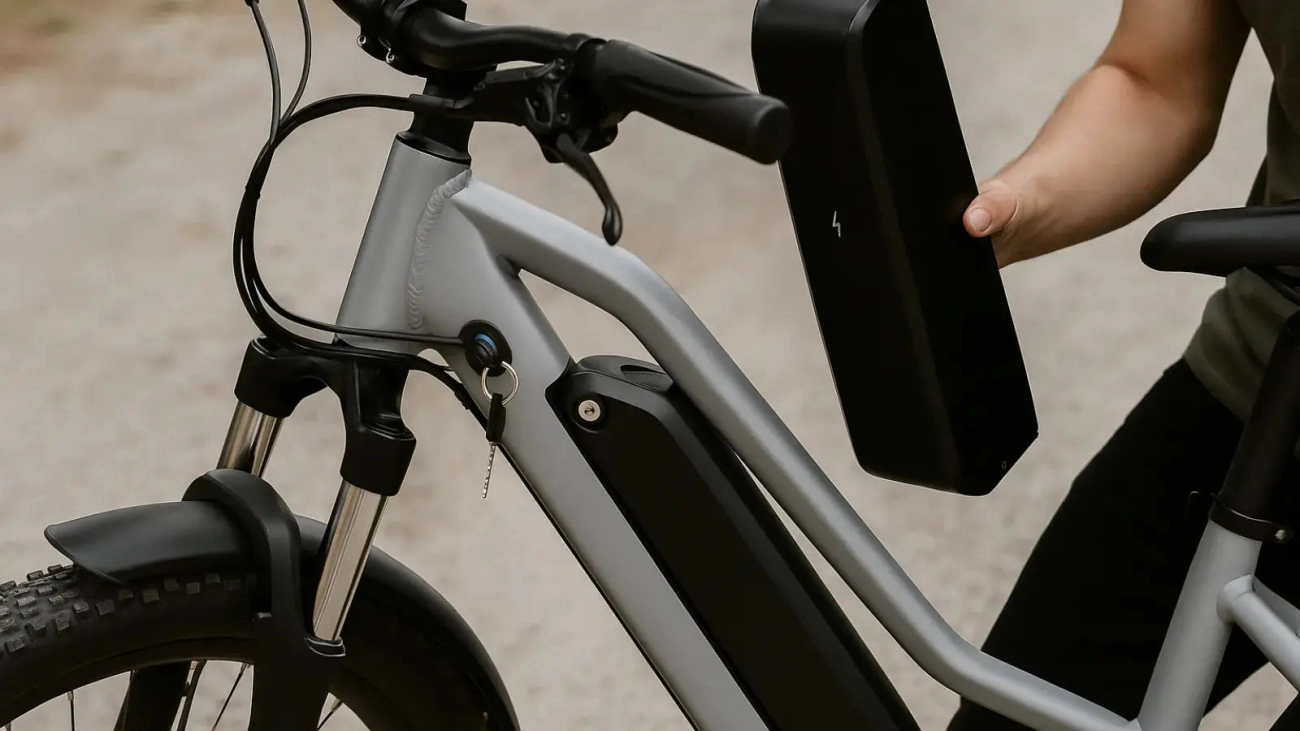
Can I put a 52v battery on a 48V ebike Learn risks benefits controller limits and OEM safe custom battery solutions

Learn how to fix a cordless vacuum not charging with Van4NU tips on battery checks charger issues and cleaning contacts


