How to Tell if a Vacuum Battery Is Bad Van4NU Guide
Expert guide on how to tell if a vacuum battery is bad with clear signs tests and when to choose a Van4NU replacement
Expert guide on how to tell if a vacuum battery is bad with clear signs tests and when to choose a Van4NU replacement

Learn how long a cordless vacuum battery lasts and why OEMs choose Van4NU high cycle lithium battery systems

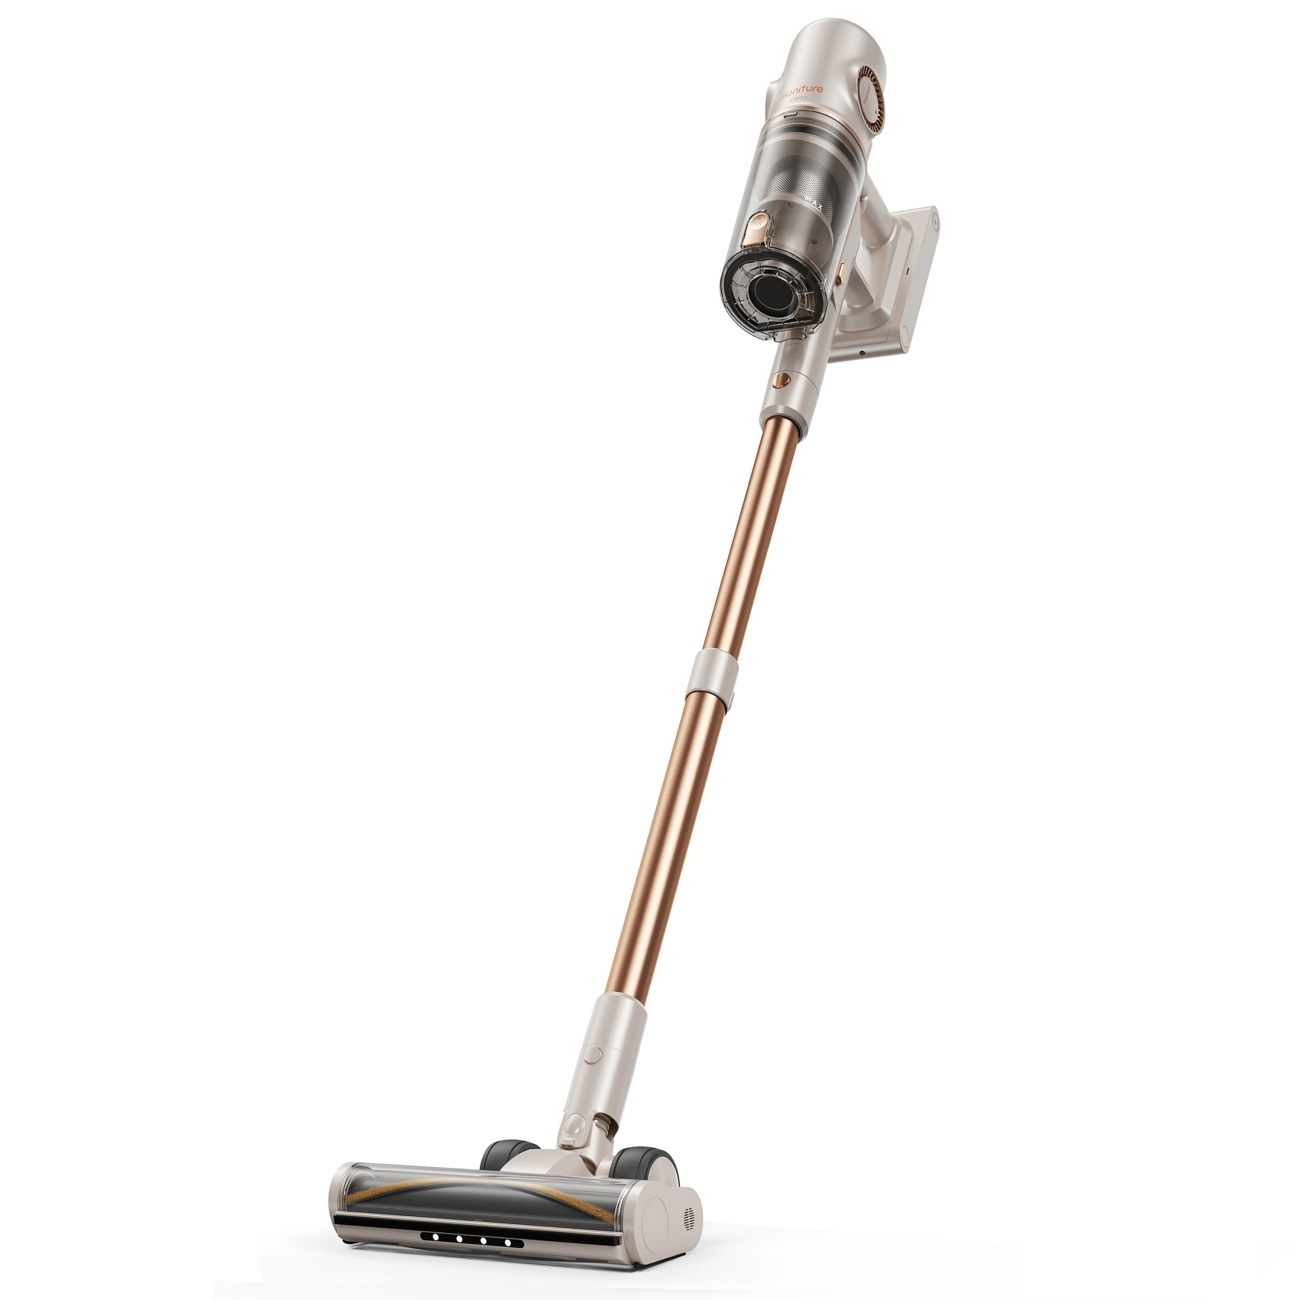
Discover what cordless vacuum has the longest lasting battery with real world tests swappable packs and Van4NU long runtime performance
Learn the real lifespan of cordless vacuum batteries plus expert tips to extend run time and protect your Van4NU lithium ion battery
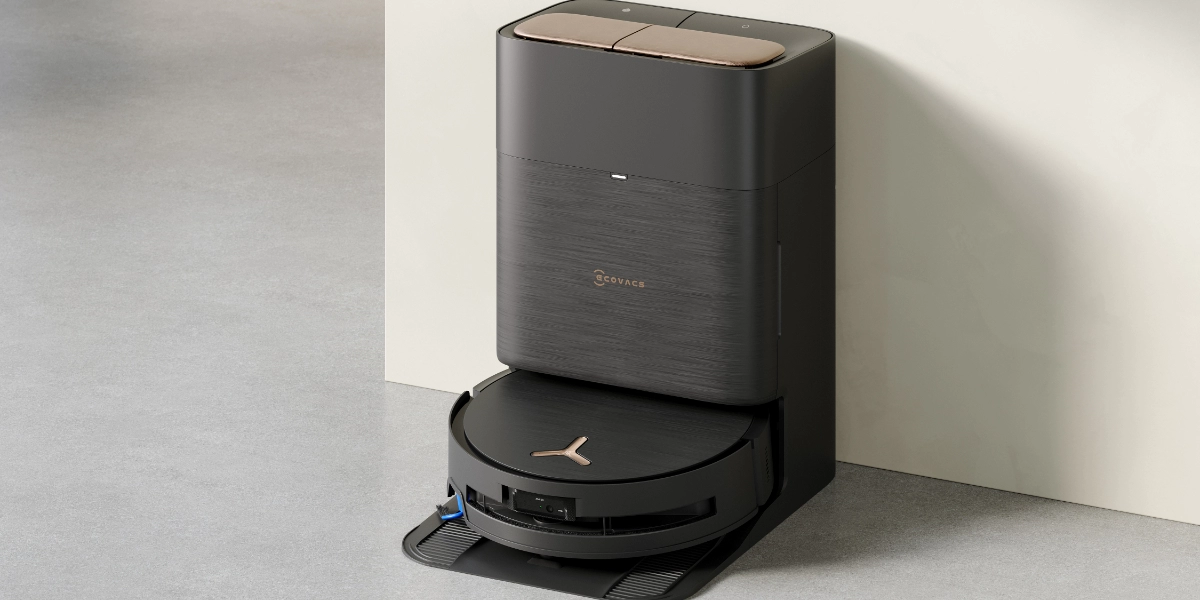
Discover common cordless vacuum problems like battery life suction loss and small bins plus how Van4NU engineering solves them

Fix vacuum cleaner not charging with our step by step Van4NU guide troubleshoot outlets battery dock and overheating safely
Discover how long a vacuum cleaner battery should last plus tips to extend runtime and lifespan
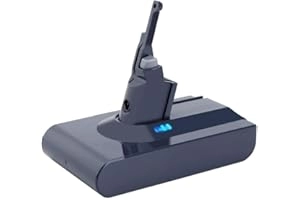
Learn if cordless vacuum batteries can be replaced plus DIY steps cost tips and Van4NU high capacity replacement options

Discover which battery is used in a vacuum cleaner and how Van4NU Li ion packs boost power safety and cycle life

Discover the best battery vacuum cleaner with expert tips on runtime suction power removable batteries and Van4NU battery tech


